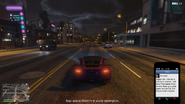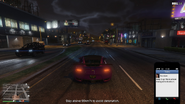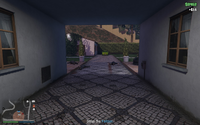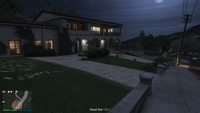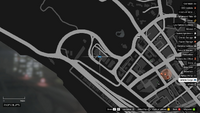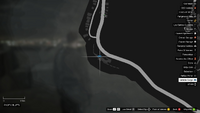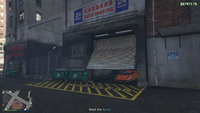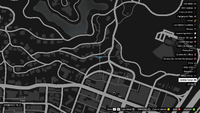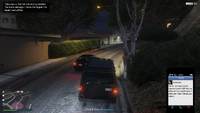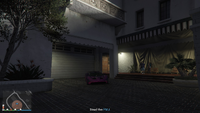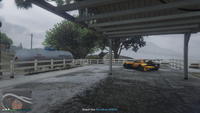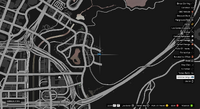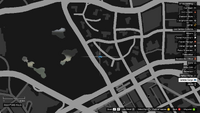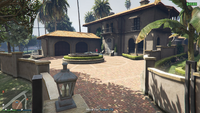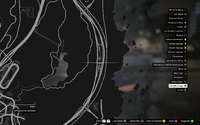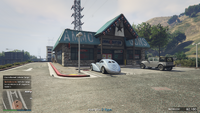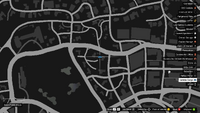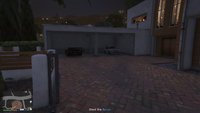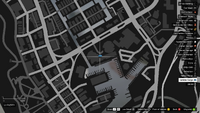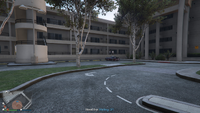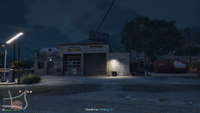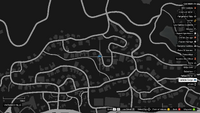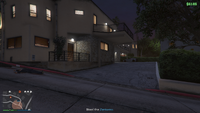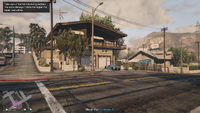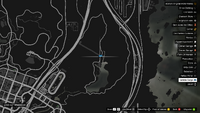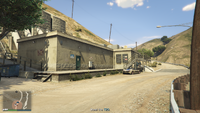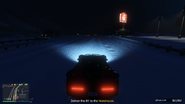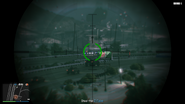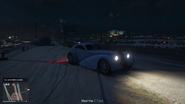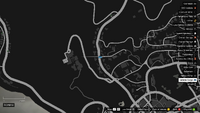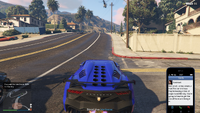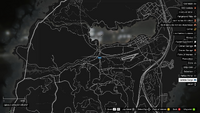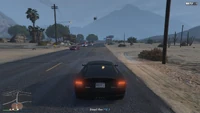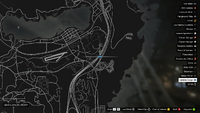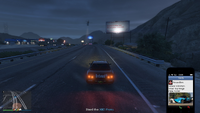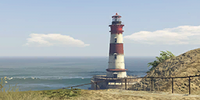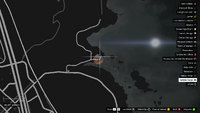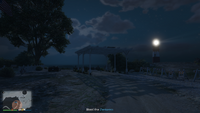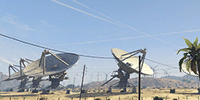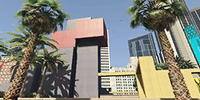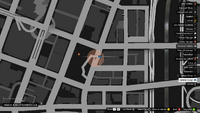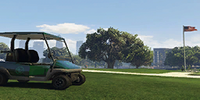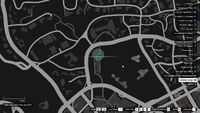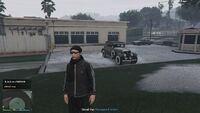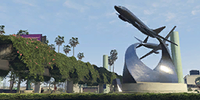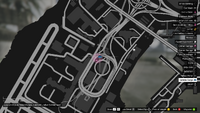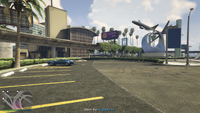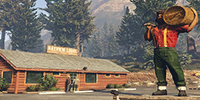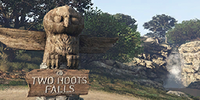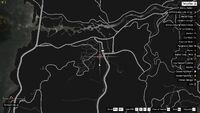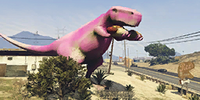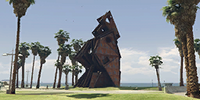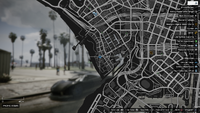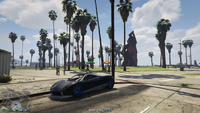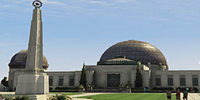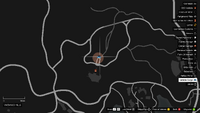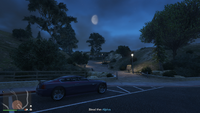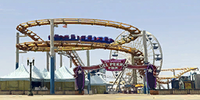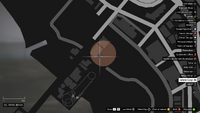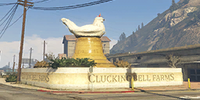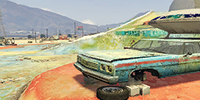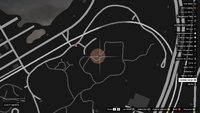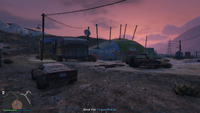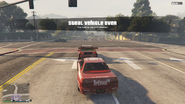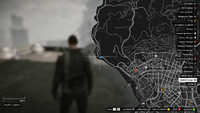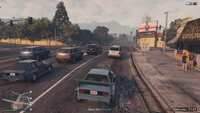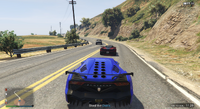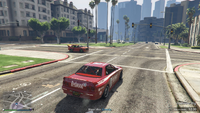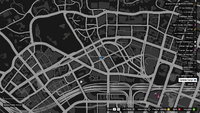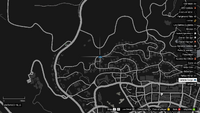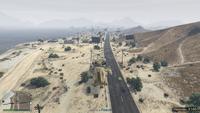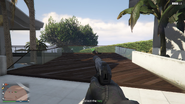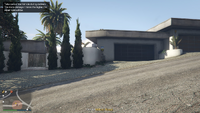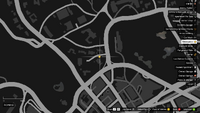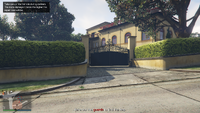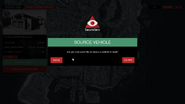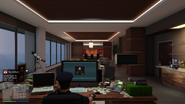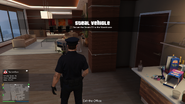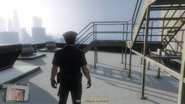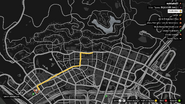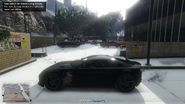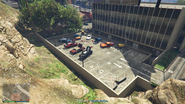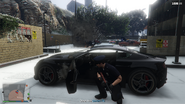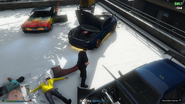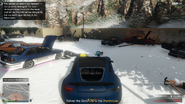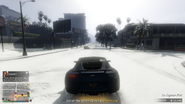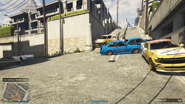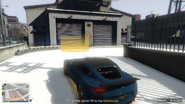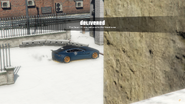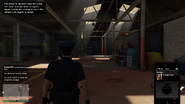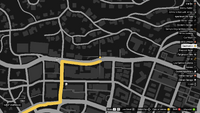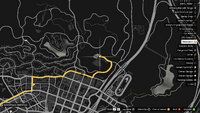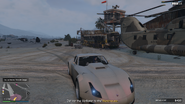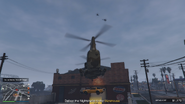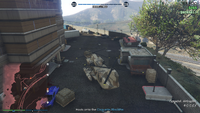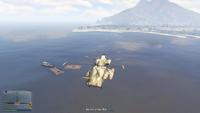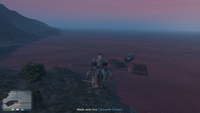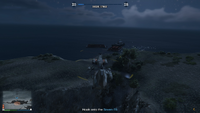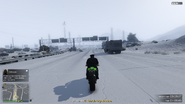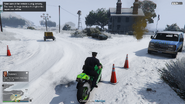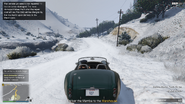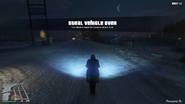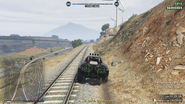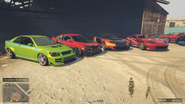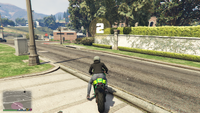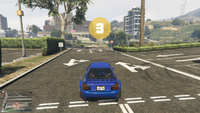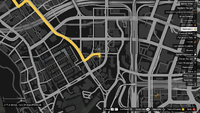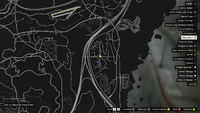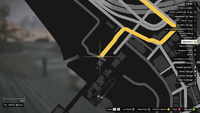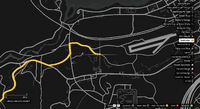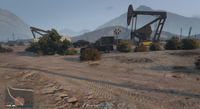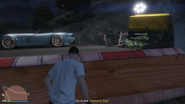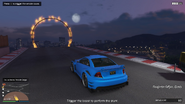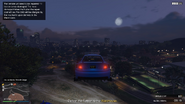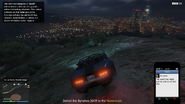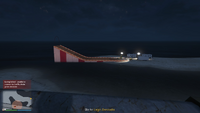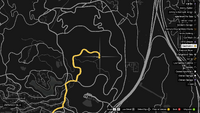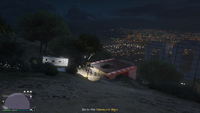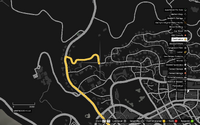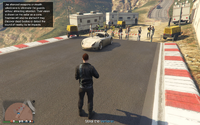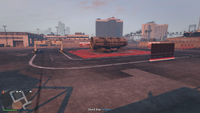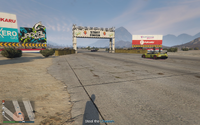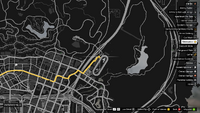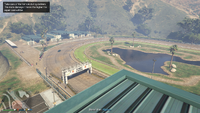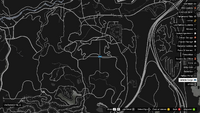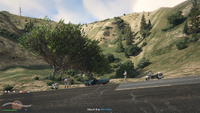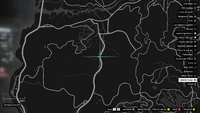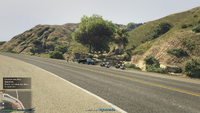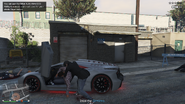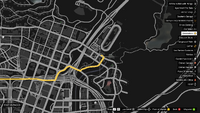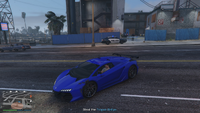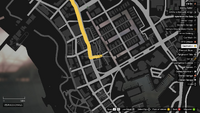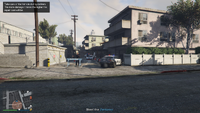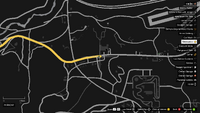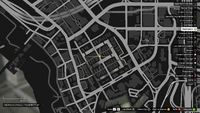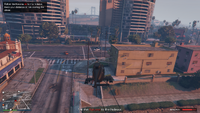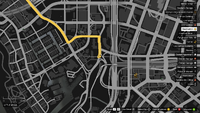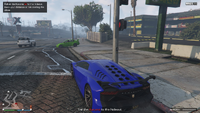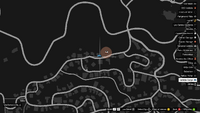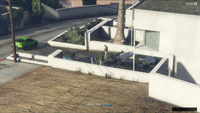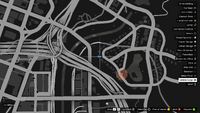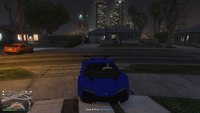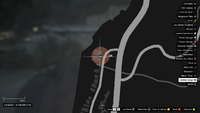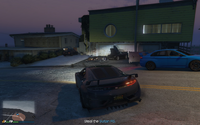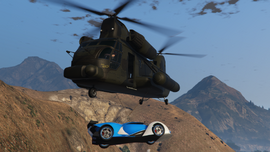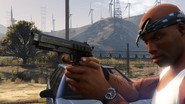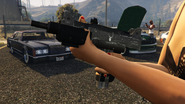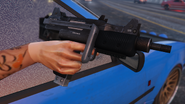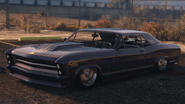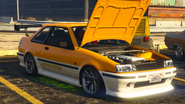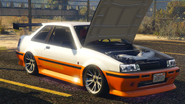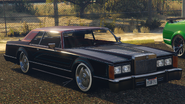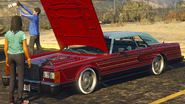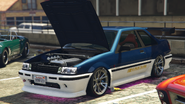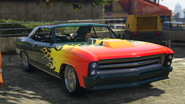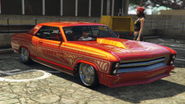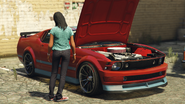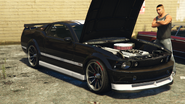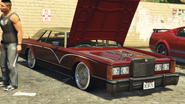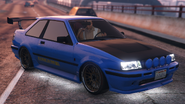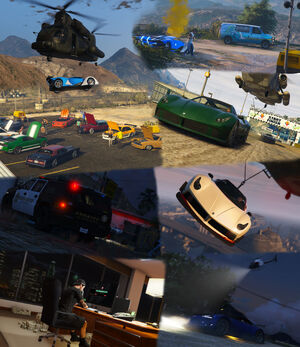
Montage of various Steal Vehicle missions.
There are 15 possible different Steal Vehicle mission scenarios that a player can encounter when sourcing a vehicle to export as part of the Vehicle Cargo missions in the Import/Export update.
14 of these scenarios can occur when the player is playing on their own in their organisation, while a single scenario is specially created for when there is more than 1 player within the organisation.
As well as starting these missions via sourcing them from the player's Office, stealing another Organization's vehicle cargo also becomes a Steal Mission. In this situation, the player is able to store the vehicle in their Vehicle Warehouse if they do not currently have the vehicle stored, or deliver it to the nearest police station.
Stationary Vehicles[]
Stationary vehicle missions involve stealing a parked vehicle from a driveway, but complications may arise.
The vehicle will be parked at the location specified. As the player approaches, they may get a warning text message from the assistant that there are armed guards around the vehicle. Once the player nears the vehicle, these guards will turn hostile.
After the player takes a guarded car, pursuing attackers may spawn in pairs, usually in Schafter V12 (Armored)s or Kurumas.
- Go to [location].
- Steal the [car].
- Deliver the [car] to the Warehouse.
Sometimes an otherwise simple unguarded vehicle target will alert the player upon entry that there is a bomb in the vehicle. The player has 20 seconds to accelerate to a target speed (90 Km/h) and must maintain that speed for a cumulative 2 minutes to allow SecuroServ to remotely defuse the bomb before returning the vehicle to their warehouse. If the player drops below the target speed, the 20 second bomb timer will resume. After 1 minute, the assistant will text message encouragement to keep it up. No NPC attackers will be present in these cases. Using a Cargobob to retrieve the vehicle (not always possible, depending on where it's parked) prevents the car bomb from being armed and bypasses that part of the mission.
| Location | Map | Screenshot |
|---|---|---|
| North Rockford Drive, Richman | ||
| North Rockford Drive, Richman | ||
| Von Crastenburg Hotel, Pacific Bluffs | ||
| Pacific Bluffs Country Club carpark. | ||
| Caesars Auto Parking, Corner of Elgin Avenue and Vespucci Boulevard, Pillbox Hill | ||
| 3667 Wild Oats Drive, Vinewood Hills | ||
| The Gentry Manor Hotel | ||
| Cherry Pie Farm, Great Chaparral | ||
| Nikola Place, Mirror Park | ||
| Caesars Place, Rockford Hills | ||
| Tataviam Truckstop | ||
| Steele Way, Rockford Hills | ||
| Palomino Avenue, La Puerta | ||
| Route 68/Joshua Road, Harmony | ||
| Hillcrest Avenue, Vinewood Hills | ||
| East side of Great Ocean Highway, Chumash | ||
| Cox Way, Vinewood Hills | ||
| Smoke Tree Road, Senora National Park | ||
| Bridge Street, East Vinewood | ||
| Pumphouse, northern end of Land Act Reservoir |
Amateur Thief[]
The Assistant will advise that the vehicle is parked but upon arrival the player will discover that the vehicle is mobile and will be informed that an amateur thief has beaten them to it. There will be a Police Maverick and several police vehicles pursuing the car. Once the scenario starts when the target starts moving, players have 15 minutes to steal the vehicle, but an on-screen notification will only appear for the last 5 minutes. Engaging the NPC driver or police with gunfire or stealing the car will immediately give the player a 3 star Wanted Level and they must lose this before reaching the warehouse. They can choose to attempt to lose the wanted level, or they can call Lester Crest to lose the cops. If the player retains the wanted level when nearing the warehouse, the stars will be reduced to 1 star.
Once the wanted level is evaded or removed, this mission doesn't result in any further pursuing attackers.
- Steal the [vehicle].
- Lose the Cops.
- Deliver the [vehicle] to the Warehouse.
| Location | Map | Screenshot |
|---|---|---|
| Travelling north on North Rockford Drive, Richman | ||
| Travelling south on Joshua Road, Harmony | ||
| Travelling north on Senora Freeway, Grand Senora Desert |
Detective Work[]
The location of the car is unknown but the last known location will be sent to the player by text. The picture will show an obvious landmark, the player must travel to that location and steal the car. On the way back to the warehouse, the vehicle will normally be reported stolen and the player will gain a 1-3 star wanted level which must be evaded before the vehicle can be delivered.
| Photo Clue | Location | Map | Screenshot |
|---|---|---|---|
| El Gordo Lighthouse | |||
| Yellow Jack Inn, near the Radio Telescope Array, Grand Senora Desert | |||
| Legion Square | |||
| Los Santos Golf Club | |||
| LSIA | |||
| Bayview Lodge, Paleto Forest | |||
| Two Hoots Falls, Tongva Valley | |||
| Rex's Diner, RON Alternates Wind Farm | |||
| Vespucci Beach | |||
| Galileo Observatory carpark. | |||
| Pleasure Pier carpark, Del Perro | |||
| Clucking Bell Farms, Paleto Bay | |||
| Paleto Forest Sawmill | |||
| Beam Me Up, Sandy Shores |
Mobile Vehicles[]
Mobile vehicle missions are simply about stealing a vehicle which is being driven by its owner. There is a 15 minute time limit from the time the player leaves their office in which the player must steal the target vehicle. The NPC target will not simply stop as a result of the player blocking the road. The NPC will stop for traffic lights though, and can be car-jacked at that point. Their path may not encounter any red lights within the time limit allowed, so the player must then shoot the driver. A wanted level may be earned after taking possession of the vehicle. After stealing it, there is no time limit for the delivery to the warehouse.
If the 15 minute timer expires, the mission will fail but the target vehicle will continue to be driven. It can still be car-jacked but the player can do nothing with it after that.
- Steal the [car].
- Lose the Cops.
- Deliver the [car] to the Warehouse.
| Location | Map | Screenshot | Path map |
|---|---|---|---|
| Great Ocean Highway, Pacific Bluffs heading south via Morningwood towards Rockford Hills | |||
| Del Perro downtown loop. | |||
| Marlowe Drive, Vinewood Hills, travelling east-west. | |||
| Eastbourne Way, Rockford Hills, travelling east-west. | |||
| Portola Drive, Rockford Hills | |||
| Mad Wayne Thunder Drive, West Vinewood | |||
| Marina Drive/Joshua Road, Sandy Shores | |||
| Dirt road, Land Act Dam, Tataviam Mountains | |||
| Tongva Drive, heading north. | |||
| Cherry Pie Farm, heading south. | |||
| Intersection of Eclipse Boulevard and Milton Road, heading north. |
Key[]
The assistant will inform the player that they are robbing an arms dealer/warlord and the player is required to gain an electronic key to unlock the target vehicle. The vehicle will be located in a garage or porch of a mansion and the property will be guarded with armed security. Only one of the guards will have the key which unlocks the vehicle. The player can either attack or can use stealth tactics and silenced weapons, reducing the amount of resistance. Once the key is found, the player will automatically unlock the car and can drive away. If the player managed to avoid alerting security, no pursuers will spawn. If security was alerted while obtaining the key, then pursuing attackers typically spawn in up to 3 waves of matte-black SuperVolito Carbons and Schafter V12 (Armored)s.
- Go to [location].
- Get the security key.
- Steal the [car].
- Deliver the [vehicle] to the Warehouse.
Oversights[]
The Sam Austin Drive location may be impossible to complete undetected if the guard holding the key is the one standing in front of the tennis court. Killing him will seemingly spook the party-goers on the court and alert the security, regardless of whether the player used suppressors or if the other guards were eliminated.
| Location | Map | Screenshot |
|---|---|---|
| 6085 Milton Road | ||
| Lake Vinewood Drive | ||
| Sam Austin Drive, Richman |
Car Meet[]
Some target vehicles may spawn at Street Racers' car meets with around 6 other cars. This means attacking via air is not suitable as the risk of blowing up the target vehicle is higher. At the meet, other highly modified cars and lowriders are parked, such as the Virgo Classic Custom, Buccaneer Custom, Futo and Dominator. Most of the cars will have their hoods open and/or use hydraulics while the owners inspect the cars and take pictures. The Street Racers in the car meet are armed with a range of weapons, usually sub machine guns or automatic pistols. Once the player gets near the meet, they will open fire. If the protagonist chooses to begin attacking from afar with a sniper rifle, up to two sets of NPCs will attempt to enter vehicles and, if not stopped, will drive to where the player is located unless the player leaves the position before they get there.
When taking the car back to the warehouse, more modified cars will pursue, vehicles such as the Pisswasser Dominator, Futo, Dominator and Sultan RS. These Varrios Los Aztecas attackers are armed with Pistols and Micro SMGs.
- Go to [location].
- Steal the [car].
- Deliver the [car] to the Warehouse.
The car meets can be in numerous locations, typically the Palmer-Taylor Power Station or on Eclipse Boulevard.
| Location | Map | Screenshot |
|---|---|---|
| Eclipse Boulevard | ||
| Vinewood Bowl | ||
| Palmer-Taylor Power Station |
Heist Crew[]
The Assistant sometimes finds a "professional-looking heist crew", where the target vehicle among other vehicles is being towed away on barges by a Tug boat out at sea. When the player leaves the office, they are told to steal a Cargobob from a specific location, Humane Labs and Research, Zancudo Treatment Works or the NOOSE Headquarters facility. At these facilities, the player is given up to a 3 star wanted level, and around 6 guards will shoot - either Military units or NOOSE units depending on the location. The player doesn't necessarily need to steal this specific Cargobob marked on the map - if the player owns a Cargobob and calls one from Pegasus or their hangar, or if they find one on a helipad, this objective will be skipped upon entry, and the player simply has to go to the marked destination where the vehicle is, out at sea. When the Cargobob is obtained, they will need to fly out to the floats and hook onto the target vehicle. 3 armed guards are on each float and will fire at the helicopter when the player gets relatively close to the area. The tug boat isn't moving, meaning the car isn't going to escape or flee. If the Cargobob is destroyed, however, the mission fails and the props and the target vehicle de-spawn. The locations next to islands allow the player to land the Cargobob and snipe the guards, making the hook-up task safer. From the time the player collects the Cargobob, they have 15 minutes to successfully hook onto the target vehicle. An onscreen countdown timer appears with 5 minutes remaining.
Once the car is hooked onto, up to 4 pairs of Buzzard Attack Choppers will spawn and fire their miniguns at the Cargobob and target vehicle, causing a large amount of damage. The experience of the pilots is significantly bad compared to normal NPCs, where they often crash into buildings and trees. The next pair will spawn if both are evaded or destroyed. The player can release the target vehicle whenever they are back over the mainland and drive it back to the warehouse. It is not compulsory to airlift it all the way; however, the player has a time limit of 20 minutes from first hooking onto the car to deliver the vehicle. A countdown is again shown on screen when the player has 5 minutes remaining to complete the delivery.
- Go to [location].
- Steal the Cargobob.
- Go to [location].
- Hook onto the [car].
- Deliver the [car] to the Warehouse.
Oversights[]
Between the Doomsday Heist and After Hours updates, this mission was removed, due to a bug where in the sourced car spawns in the water, underneath the barge. This resulted in an instant mission failure as the target car was destroyed. The mission has since been reinstated.
| Cargobob Location | Map | Screenshot |
|---|---|---|
| Humane Labs and Research | ||
| NOOSE Headquarters | ||
| Zancudo Treatment Works |
| Vehicle Location | Map | Screenshot |
|---|---|---|
| Mid-ocean off Lago Zancudo | ||
| North-east of a small island near Davis Quartz | ||
| West of an island west of Paleto Cove |
Race Bet[]
The only legal mission involves winning a race bet. The target has set a target time on a point-to-point race that he claims is "unbeatable". When the vehicle is sourced, the player needs to get to the start line marked on the map in a suitable land vehicle. A carbon-black Elegy RH8 spawns at all start lines. Once the player is at the start line, a 3 second starting line countdown begins and then the destination and target time are revealed. They must beat the race time in order to get the vehicle located at the finish line.
Similar to the Time Trials Freemode Events, there are no checkpoints and the player does not have to follow the prescribed route to the finish line, although generally there are few viable shortcuts that can be taken.
If the player doesn't make it to the finish line before the time runs out the player will fail the mission. The vehicle will not de-spawn if the player got within sight of the finish, but it will catch fire and be unable to be taken.
At the finish line, numerous people are cheering on the player, while the target vehicle is guarded by the Street Racer owner. Regardless of the deal, the owner will attempt to attack the player with a Baseball Bat. The car is now free to be taken, but on the way back to the warehouse the player will be pursued by up to 4 pairs of Street Racers in their imitation Fast and Furious liveries, such as orange and black or red Banshee 900Rs and red or limegreen Sultan RS's, with gang members armed with Micro SMGs.
- Go to the starting area.
- Race to [destination].
- Take the [car].
- Deliver the [car] to the Warehouse.
| Start Location | Finish Location | Target time | Start Point Map | Start Screenshot |
|---|---|---|---|---|
| Americano Way west of ULSA in Richman. | Mountain View Drive, near the Alamo Sea | 2:59:41 | 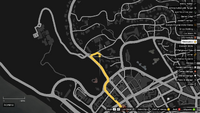 |
|
| Vinewood Casino south carpark. | El Gordo Lighthouse | 03:03:07 | Course | |
| Lindsay Circus, Little Seoul | Paleto Cove | 03:52.50 | Course |
Instructional message[]
Photo Shoot[]
The target vehicle may sometimes be involved in a photography shoot. The vehicle will be found at a notable location and will be surrounded by a security team with silver Sadlers, photographers and models. When the vehicle is located, it is advised to use a Cargobob helicopter and land near the shoot's setting, taking out the security guards on ground and then pick up the vehicle with the helicopter. When delivering to the warehouse, up to 3 waves of NPCs in matte-black SuperVolito Carbons and Schafter V12s (Armored) may pursue the player and guards in the rear passenger seats of the helicopters will shoot.
- Go to [location].
- Steal the [car].
- Deliver the [car] to the Warehouse.
| Location | Map | Screenshot |
|---|---|---|
| RON Alternates Wind Farm | ||
| Del Perro Beach | ||
| Grand Senora Desert, oilfields west of Sandy Shores Airfield |
Movie Stunt[]
The target vehicle can sometimes be involved in a movie production. At the site of the vehicle, a stunt ramp, usually with a ring of fire, will be laid out in front of the vehicle ready for filming. The player can take out the guards or avoid them altogether and steal the car. Taking the guards out using stealth methods is the most successful way of aggressively completing the mission.
If the player uses a Cargobob and hooks onto the vehicle, the vehicle's boost will be disabled and the player will be notified. This way, the player is usually spotted given the time it may take to connect the vehicle to the helicopter's hook; however, a quick success may sometimes go completely unnoticed and result in no suspicion and no tailing goons.
Like the photoshoot, the professional guards also have air and ground support. SuperVolito Carbons and Schafter V12s (Armored) with armed units will pursue the player after taking the car unless the player steals the vehicle without alerting security. This is most easily done by approaching from under the ramp and climbing onto the ramp in front of the target vehicle. If the assistant sends a congratulatory text message that the stunt shot was successful, there should be no pursuit. This allows the player to deliver the vehicle with minimal damage.
- Go to [location].
- Steal the [car].
- Complete the stunt (optional).
- Deliver the [car] to the Warehouse.
| Location | Map | Screenshot |
|---|---|---|
| Lago Zancudo | ||
| Vinewood Sign | ||
| Ace Jones Drive, Richman |
Instructional Messages[]
Closed Circuit[]
In this scenario, the target vehicle is running laps around a oval or circle, accompanied by seven vehicles of the same type (albeit unmodified). This mission is one of the most difficult scenarios to complete without damaging the vehicle, as the driver will not stop for obstructions and must be shot, hooked with a Cargobob or cornered and pulled out. If disturbed, pedestrians flee the area and all the NPC vehicles may exit the circuit, further hindering the mission and turning it into a chase.
- Steal the [car].
- Deliver the [car] to the Warehouse.
| Location | Map | Screenshot |
|---|---|---|
| LSIA | ||
| Sandy Shores Airfield | ||
| Vinewood Racetrack |
Traffic Stop[]
The Assistant will advise that the owner of the target vehicle has been stopped by police (on a routine stop or for multiple DUIs) and the player should hurry and get the vehicle before it is impounded; however, there is no time limit. The vehicle will be on the roadside with 2 Police Bikes and officers. The player will gain a wanted level whether they choose to eliminate the police or not. The player must then evade or remove their wanted level before delivering the car to the warehouse.
Oversights[]
- Sometimes, the driver's door of the sourced car might be missing, which will incur damage costs of over $3,000 from the start. This glitch seems to be peculiarly prevalent with gullwing doors cars.
| Location | Map | Screenshot |
|---|---|---|
| Mount Haan Road, Vinewood Hills | ||
| Tongva Drive, Tongva Hills | ||
| North Calafia Way, Alamo Sea |
Crime Scene[]
The Assistant will inform the player that the vehicle has been involved in something "pretty nasty" and to retrieve it from the crime scene. The vehicle will be surrounded by police guards at the scene. Stealing it will normally require elimination of Police to avoid damage to the target car. The player must then evade or remove their wanted level before delivering the car to the warehouse.
| Location | Map | Screenshot |
|---|---|---|
| The Motel on Mirror Park Boulevard opposite The Lost Clubhouse | ||
| Invention Court, Vespucci Canals | ||
| Route 68, Harmony |
Tail[]
The Assistant will inform the player that they do not know the location of the target vehicle, but that they know of a vehicle on the way to it. The targets are Little Seoul gangsters. The player needs to tail an NPC driving a Kuruma without being observed to the location of the target car and steal it from the Korean gang protecting it. The tailed vehicle will travel at a slightly aggressive pace, overtaking traffic and running red lights.
If the player loses the Kuruma, the mission will fail. If the player is detected, the mission does not fail, but the tailed vehicle will travel at high speed and must now be chased to the end point and the gang members at the destination will be immediately hostile. On the way back to the warehouse NPCs should spawn in pairs of Kurumas but as of update 1.37 this appears to be bugged and the player will only encounter 1 empty pair of Kurumas en route, unless the high speed chase had been triggered in the tailing phase, in which case the chase Kurumas will spawn normally.
Instructional Messages[]
| Start Tail Location | Map | Screenshot |
|---|---|---|
| Prosperity Street, Vespucci Canals | ||
| Calais Avenue, Little Seoul | (Alternate Start point.) | |
| Innocence Boulevard, Rancho |
| End Tail Location | Map | Screenshot |
|---|---|---|
| Mad Wayne Thunder Drive, West Vinewood next to the Vinewood Hills Dog Exercise Park | ||
| West Mirror Drive, Mirror Park | ||
| Barbareno Road, Chumash |
License Plate Scanner[]
If the player has another player alongside them in their Organisation, there is a chance they may have to team up to locate the target vehicle. In this unique scenario, the player must collect a Police Maverick marked on the GPS, and use its license plate scanner to scan numerous vehicles marked on the map. Once they have found the correct vehicle, they should steal the car, and take it back to the warehouse.
The Police Maverick may spawn at:
- Vinewood Police Station
- On top of the multi-story car park Mission Row Police Station
- Vespucci Police Station
- NOOSE Headquarters
Stealing Other Players' Vehicle Cargo[]
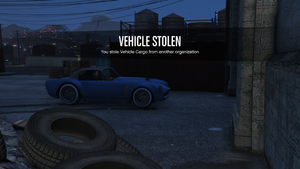
Successfully stealing and delivering another player's vehicle cargo.
The player is also able to steal other player's vehicle cargo once the vehicle has been retrieved by the original source. The vehicle will become visible on the map for all players in the session to steal. The player will be notified that Vehicle Cargo is being transported and instructions on how to steal the vehicle.
Typically, players are most successful at stealing vehicle cargo as it is being delivered to the warehouse, by shooting the driver and entering the vehicle. Once stolen, the player will then be instructed to either deliver it to their Vehicle Warehouse, or the nearest Police Station.
If the player already has that specific vehicle in their warehouse, they cannot take it into the warehouse, and only have the option of taking it to the nearest police station. If the player doesn't, they can deliver it to the warehouse and use it to sell later on. The assistant will call the player with different variations of lines congratulating the player on stealing another organization's car.
Stealing Vehicle Cargo that is being Exported will not allow the player to deliver it to their warehouse, as it is "too hot to modify"; i.e, another player has already modified the vehicle. An exception is when the vehicle is being exported in a collection, as the vehicle has not been modified at all. The player can, in all cases, take the vehicle to the nearest police station to receive GTA$ and RP.
If the player steals a vehicle while not part of an Organization, they will only be prompted to deliver it to the nearest police station; however, they can register through SecuroServ at any point of the delivery and take the vehicle to their warehouse. This means all players have an equal threat of stealing the player's vehicle cargo regardless of whether they are members of Organizations or Motorcycle Clubs, so being wary of this on delivery is advised.
Depending on the circumstances, when the delivery cutscene plays, it will either display as "You stole from an organization" or "You stole from [Organization]", the former of which will show when the organization who originally sourced the vehicle have left the session before delivery.
Gallery[]
General Instructions[]
{{HUDInstruction|This Vehicle is too hot to deliver to your Vehicle Warehouse. Deliver it to the closest Police Station {{HUDIcons|game=O|policestationdropoff|yellow {{HUDInstruction|This Vehicle is already stored in your Vehicle Warehouse. Deliver it to the closest Police Station {{HUDIcons|game=O|policestationdropoff|yellow
Oversights[]
Grand Theft Auto Online[]
- When the damage on the Vehicle Cargo exceeds its limit and the vehicle starts catching fire, the Repair Cost on the bottom right corner will be reset to $0 for a few seconds, before finally destroying the vehicle.
- The advisory message "You collected vehicle cargo" often does not disappear from the screen, and in fact stays on the screen even beyond the end of the mission (PS4 confirmed).


