Ask AI
How to embed the Video Player
Last updated: Jul-03-2026
Overview
This section walks you through the steps of embedding self-hosted and cloud-hosted video players, setting them to play a video from your Cloudinary product environment, and for a self-hosted player, applying commonly used video player methods and properties.
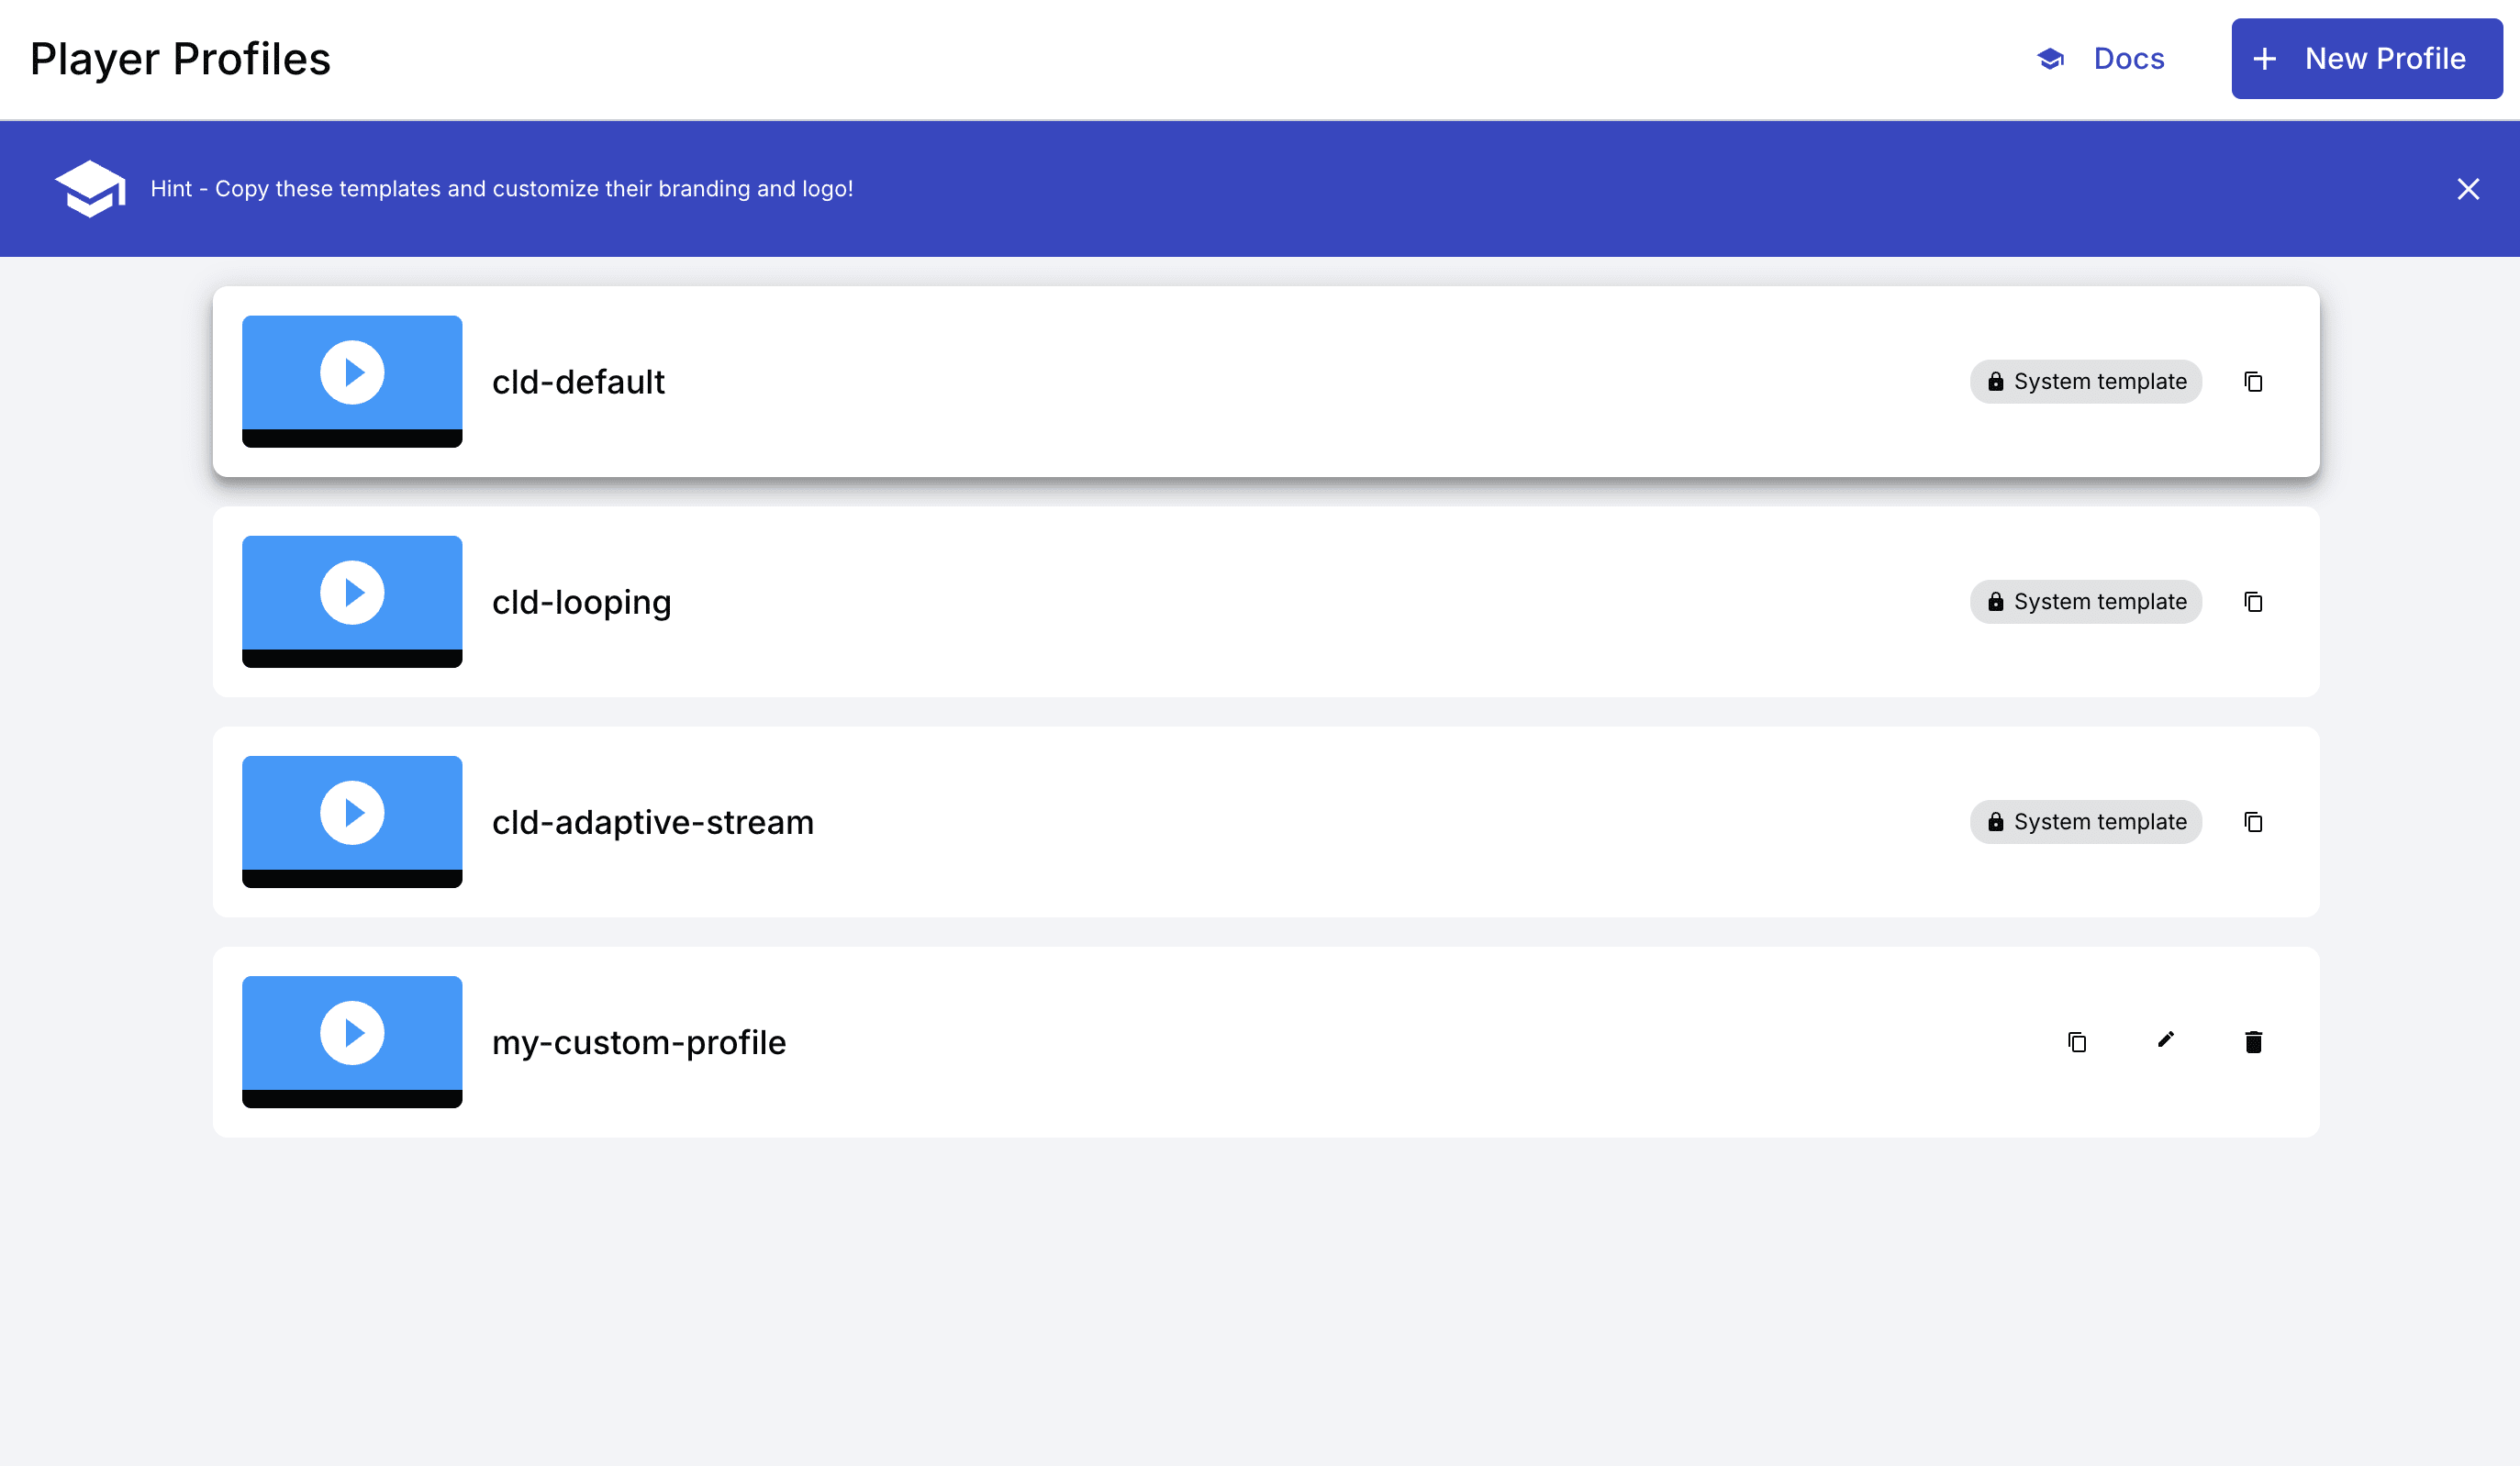
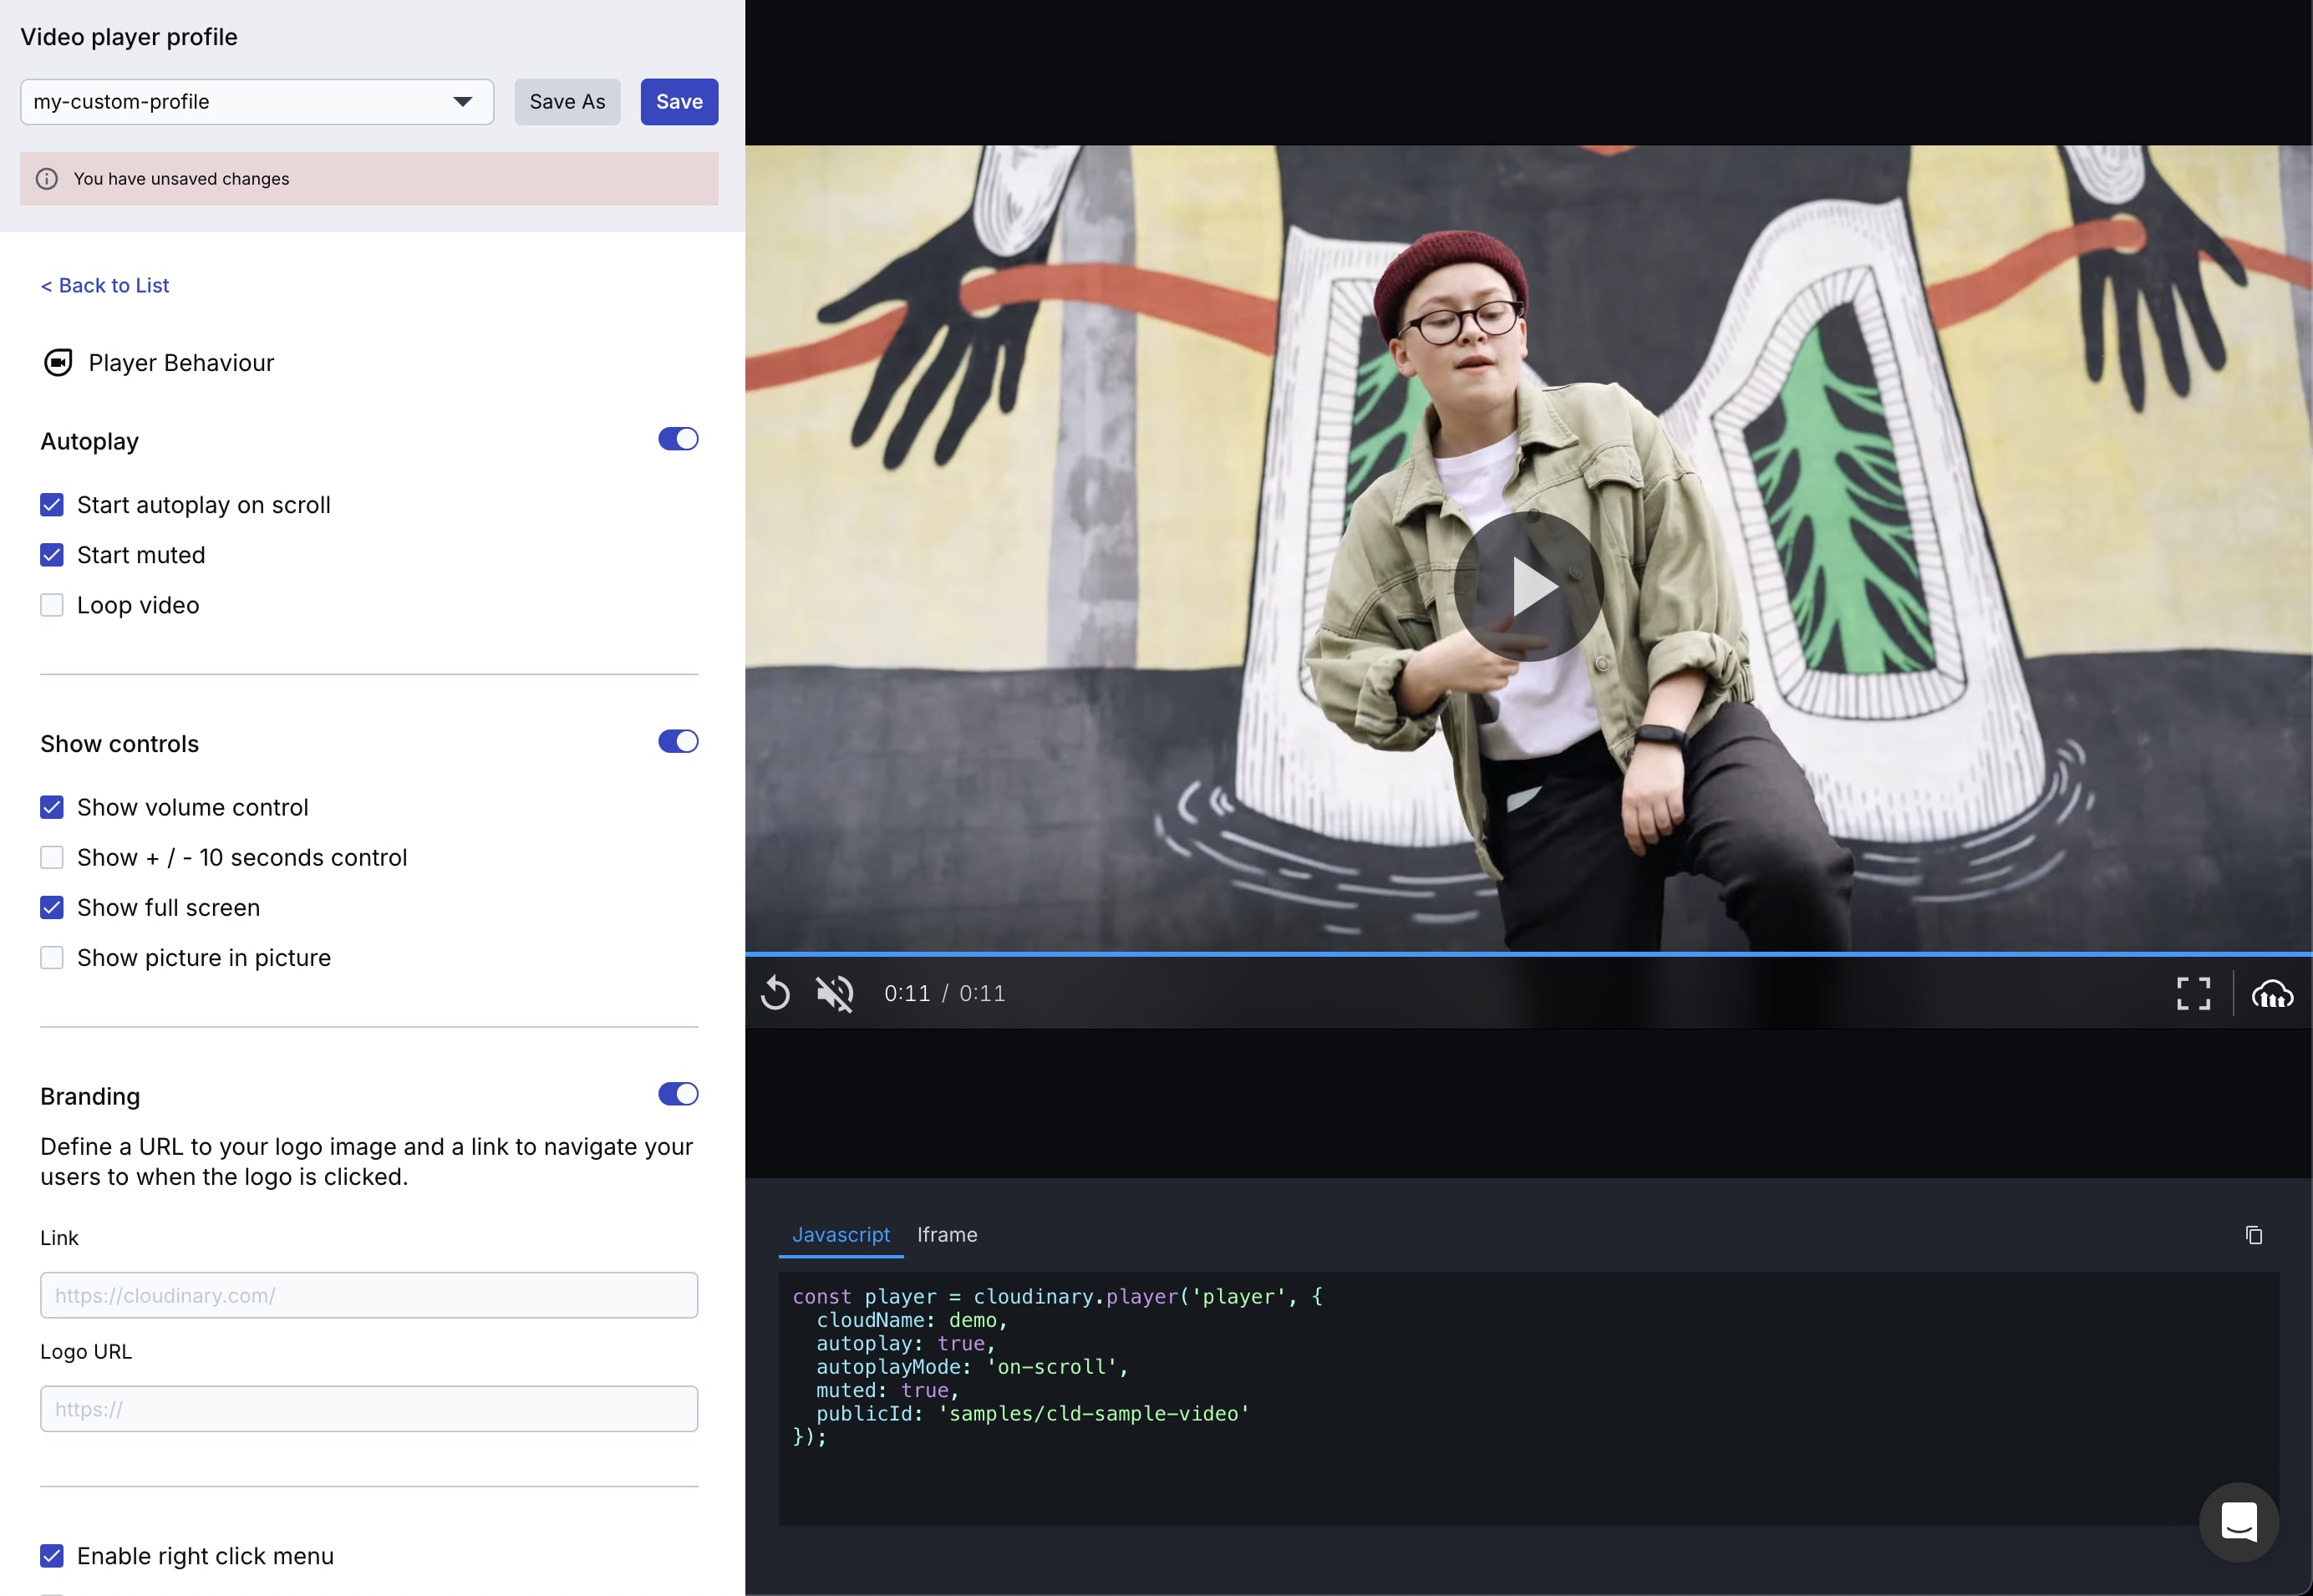
You can use the self-hosted player by including the Cloudinary Video Player JavaScript library, giving you full control of all your video player instances. Alternatively, you can embed a cloud-hosted player using an iframe. You can easily generate the code for a customized player using the Video Player Studio, or build this out yourself.
Self-hosted player
Embedding a self-hosted player using the Cloudinary Video Player JavaScript-based library offers greater control over the player and playback settings. However, it requires a little more setup and configuration than the cloud-hosted player, and you must include the library in your website or application. We recommend using this method of embedding if you have multiple player instances, need to programmatically control playback and events, or have advanced customization and performance requirements.
You can also take advantage of player profiles to define your configuration, allowing you to easily make changes without having to deploy your code.
1. Include the relevant CSS and JS files for the video player
Import the video player and any additional modules, or include the video player scripts from a CDN in your pages.
To import as a module:
If you're including from a CDN, the video player package is available in either minified or non-minified formats. The default player.min.js file uses the lightweight player entry point, and player.min.css provides the player styles.
For example, the following includes the standard, minified package and CSS from the CDN:
For full details on all options, see Installation and setup
2. Embed the video player by adding a video tag element with the video player class
Create a video tag with at least the cld-video-player class and an id value. You can also include standard HTML5 video player attributes.
3. Instantiate the Cloudinary video player
Instantiate the video player by using the player method and either passing the video tag ID you defined in step 2, or passing the video element itself. You can optionally add in constructor parameters to set global configurations.
Or:
To use the Cloudinary Video Player you have to configure at least your cloudName. You can additionally define a number of optional configuration parameters. For example, if you're an Advanced plan user with a private CDN and custom delivery hostname (CNAME), you can set privateCdn to true and configure the cname parameter to match your setup. This will ensure the video player delivers your videos using the correct URLs.
You set configuration parameters while instantiating a new player, for example:
Or for a private CDN and custom distribution:
For Video Player versions earlier than 1.9.15, configuration parameters including your cloud name must be specified in snake_case. All examples in the documentation now use camelCase for consistency with the rest of the video player options. Using snake_case will continue to be supported, however you must upgrade your video player version to at least 1.9.15 if you wish to use any camelCase examples.
If you plan to include multiple players on your page with the same configuration, you can use the players method. For example, you can specify different video public IDs for each <video> tag. In this case, there is no need to define id attributes for the <video> tags as you can target the cld-video-player class. As with instantiating a single player, you can optionally add in constructor parameters.
4. Specify the video to play and optional player configurations
You can specify the video to play, the transformations to apply, as well as a number of additional configurations either as attributes of the <video> tag or as constructor parameters of the player method. These configurations and transformations apply to the video player itself, and thus will apply to all video sources played inside it.
You can additionally specify some options like the video public ID or video URL, video transformations, and the poster source per video source, using the source method (or data-cld-source attribute in the <video> tag), and then set different values for these options for each video source you play.
For optimal delivery, you can also define the source types you want the player to use. This can include a combination of advanced formats and codecs as well as adaptive bitrate streaming formats. The player will attempt to play the source type listed first and fallback to the subsequent formats. This helps provide the optimal video delivery depending on the browser and device.
For the <video> tag, all special Cloudinary video player configurations have a data-cld- prefix. Standard HTML5 video attributes are specified as usual.
Example 1: Specifying the public ID in the <video> tag
Example 2: Specifying the public ID in the player method
Example 3: Specifying the video as a URL in the player method
Example 4: Specifying multiple source types
For details on other configurations you can set, see Configuration options and the Video Player API Reference.
Recommendations for optimal performance
When embedding the self-hosted player, you can embed and configure it in a number of different ways. Some of these provide better performance than others. Here are some recommendations on how to embed the player for better performance.
- Use the default
player.min.jsandplayer.min.cssfiles. - Create the player with
cloudinary.player(). - Enable the Video Player
lazyoption so the full player loads on click (lazy: true) or when it enters the viewport (lazy: { loadOnScroll: true }). - Enable responsive breakpoints to avoid delivering video and poster renditions larger than the player can display.
- Add
loading="lazy"andpreload="none"to your<video>tag where appropriate. - Ensure your page loads the video player libraries and HTML in the following, optimal, order:
- Video player stylesheet
- HTML for the video element
- Video Player JavaScript libraries.
- JavaScript to configure your video player.
- Use the
cld-fluidclass for responsive player sizing. Prefer this over JS configuration methods to avoid unwanted player resizing.
-
cld-fluidcontrols responsive layout sizing (the player element resizes with its container). To also optimize the video resolution for the display, enable responsive breakpoints. - To pin the player to its container's aspect ratio, also set the
aspectRatioparameter (for example,'16:9'). Without it, the player adopts the video's native aspect ratio once metadata loads, which can override the container's intended dimensions.
The following example shows how to organize your code for the video player using the recommendations above:
Video tutorial: Embed the Video Player in a React app
Watch this video tutorial to learn how to embed the Video Player in a React app:
This video is brought to you by Cloudinary's video player - embed your own!
Use the controls to set the playback speed, navigate to chapters of interest and select subtitles in your preferred language.
Tutorial contents
Cloud-hosted player
The cloud-hosted player uses an iframe to add an instance of the player to your page. The player itself is hosted by Cloudinary and can be easily configured and customized. You can design and configure your player using the Cloudinary Video Player Studio, and then copy and paste the iframe code it generates for you. Alternatively, you can configure the iframe code manually, as outlined below. We recommend using this method if you don't want to host the video player yourself and want to add individual pre-configured video players to your website or application.
This is a simple example of how video player iframe code might look:
Here's how to code your own cloud-hosted player:
1. Add an iframe to your page or application
Add an <iframe> element to your webpage or application in the location you want the video player to appear. For example:
2. Set the "src" attribute to your Cloudinary Video Player configuration
Set the src attribute of the iframe to add the video player instance to the iframe. The iframe uses the URL of the Cloudinary Video Player embedder service along with your URL encoded parameters.
The URL structure for the service is - https://player.cloudinary.com/embed/?<parameters>
showLogo becomes show_logo.Required parameters
| Param | Type | Description |
|---|---|---|
| cloud_name | String | The cloud name for your Cloudinary product environment. |
| public_id | String | The Cloudinary unique identifier for the video. |
Optional parameters
| Param | Type | Description |
|---|---|---|
| cloudinary | Object | The Cloudinary product environment-specific configuration parameters to apply. |
| player | Object | The configuration for the player itself, including the player visuals and behavior. |
| source | Object | The configuration to apply to the video source. |
| vpv | String | The version of the Cloudinary video player to use. |
The simplest way to construct your URL is to build your parameters as a single string and append it to the embed URL, for example:
This will give you the following URL to set as the src of your iframe:
https://player.cloudinary.com/embed/?cloud_name=demo&public_id=elephants&vpv=1.4.0
Here's an example of building the configuration as an object before stringifying it and appending to the embed URL:
This will give you the following URL to set as the src of your iframe:
https://player.cloudinary.com/embed/?cloud_name=demo&public_id=elephants&cloudinary%5Bcname%5D=myCname&player%5Bloop%5D=true&source%5Bsource_types%5D%5B0%5D=mp4%2Fh265&source%5Bsource_types%5D%5B1%5D=mp4&source%5Btransformation%5D%5B1%5D%5Bquality%5D=auto
The full HTML code for the iframe using the above URL will be:
3. Set additional iframe attributes
In addition to configuring your embed URL, you need to add some attributes to the <iframe> element to allow the video player to behave as expected. You can add any HTML attribute that an iframe element supports. Below are the attributes we recommend setting:
- Set
frameborder="0"to ensure there's no border around your iframe. Alternatively, you could configure this using CSS by settingborder: 0;for your iframe. - Set the
widthandheightattributes to control the size of the video player. - Set the
allowattribute to allow the relevant video player functionality, for example if you want to allow the video to be played in fullscreen or play automatically.
For example, to set your iframe to a width of 500 pixels, remove the border and allow autoplay and fullscreen:
Video tutorial: Embed the Video Player in HTML
Watch this video tutorial to learn how to embed the Video Player in an HTML document or app:
This video is brought to you by Cloudinary's video player - embed your own!
Use the controls to set the playback speed, navigate to chapters of interest and select subtitles in your preferred language.
Tutorial contents
Notecolbycloud-examples and a public ID for a video in your product environment instead of videos/guitar.