Visual Studio for Mac is retired
Visual Studio for Mac was retired on August 31, 2024 in accordance with Microsoft's Modern Lifecycle Policy. While you can continue to work with Visual Studio for Mac, there are several other options for developers on Mac such as the preview version of the new C# Dev Kit extension for VS Code.
Since the release of Visual Studio for Mac we’ve been amazed by the number of Mac developers using it to build native apps for Mac, iOS, and Android, using Xamarin and Xamarin.Forms; web sites and services using ASP.NET Core; and games using Unity. We’re also excited by the number of developers trying it for the first time, and we want to make it easy to get started – no matter what type of app you’re interested in building. To help, we’re creating hands-on labs for all sorts of developer scenarios.
In my last post, I linked to hands-on labs for getting started with Unity 3D (Lab 1) and working with Internet of Things (IoT) devices (Lab 2). Today I’m excited to present two new labs, for building an ASP.NET Core web site, and building a cross-platform mobile app with Xamarin and an Azure App Service backend.
Lab 3: Build and Debug an ASP.NET Core Web Site
This is our first lab that focuses on the web, these instructions will help you create and host an ASP.NET Core web site, as well as understand some of the details of how it works. It’ll guide you through these 6 tasks:
- Create a new ASP.NET Core web site
- Review the solution structure
- Understand hosting
- Test and debug the web site
- Review the startup configuration
- Insert application middleware in the HTTP pipeline
To complete the lab, follow these hands-on instructions, which will walk you through the process of building a working ASP.NET Core web site using Visual Studio for Mac.
Lab 4: Create a Cloud-Connected Mobile App for iOS and Android
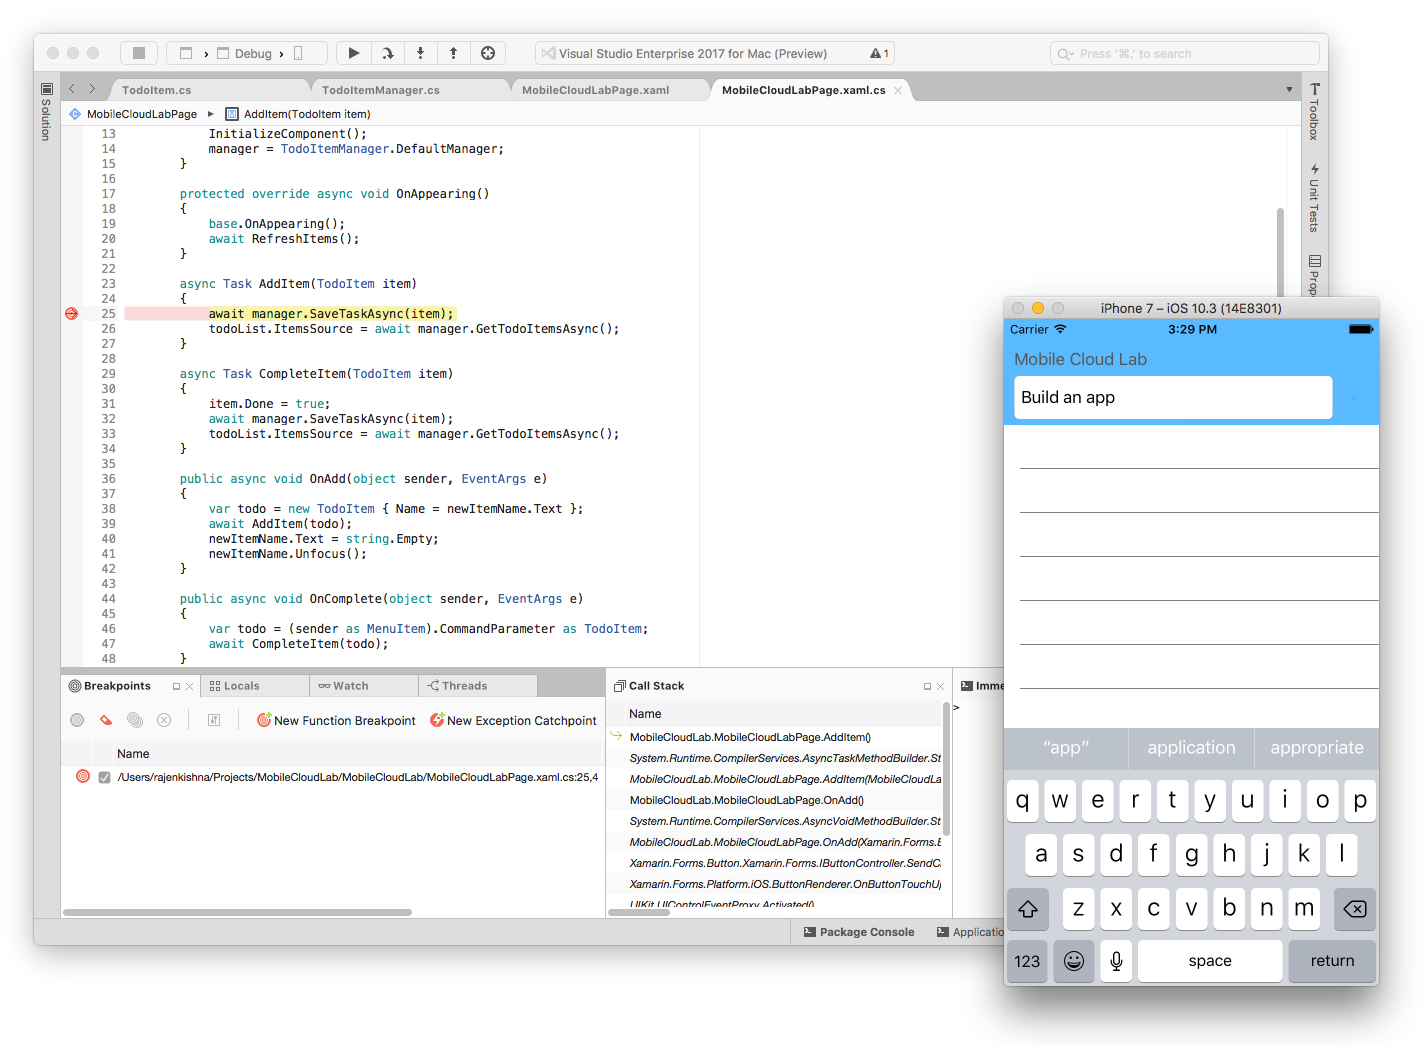
This lab takes you on an exciting journey: building a cross-platform app that runs on iOS and Android, and connects to an Azure-powered cloud backend. These 5 tasks explain everything in detail:
- File > New cross-platform app
- Create an Azure Mobile App backend
- Configure Azure Easy Tables
- Integrate the cross-platform app with Azure
- Test and debug the app
Follow these instructions to create a new cross-platform mobile app using Xamarin, set up Azure App Service Easy Tables, and tie it all together!
Download Visual Studio for Mac today, and visit our labs repo on GitHub. Both this week’s labs result in fully working projects: a web site and a mobile app, which I hope inspires you to start building your own ideas. Don’t forget to go back and give game development a try or connect to an IoT device using last week’s labs.
With the Visual Studio Community edition it is easy and free to get started. Keep an eye on this blog for more labs that demonstrate some of the other great developer scenarios and check out the docs for more in-depth information on Visual Studio for Mac.
 |
Craig Dunn, Principal Program Manager @conceptdevCraig works on the Mobile Developer Tools documentation team, where he enjoys writing cross-platform code for iOS, Android, Mac, and Windows platforms with Visual Studio and Xamarin. |


0 comments