Showing posts with label craft. Show all posts

Friday, June 15, 2012

Father's Day Gift Bag DIY

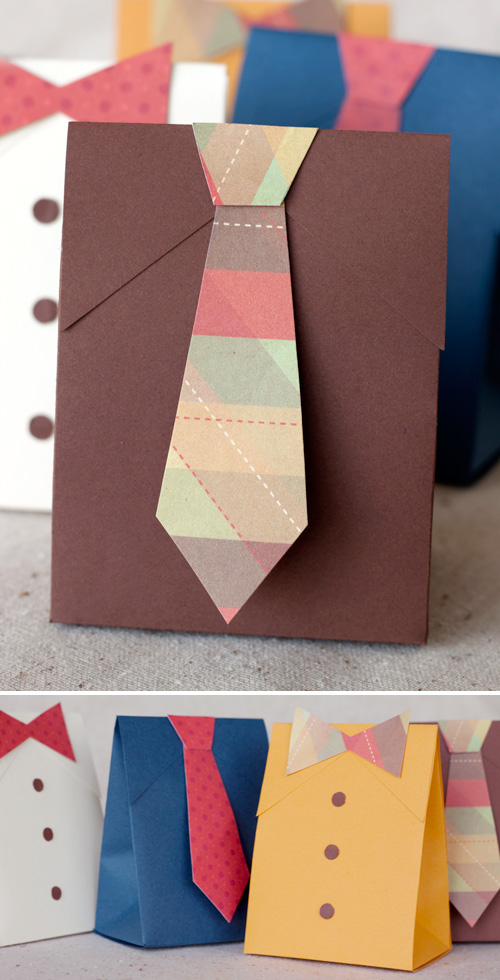
Every Father's Day, I end up getting my dad the same thing: a sweet tie from the mall. Of course, he appreciates it and all, but there are so many other creative ways to show my appreciation and love for the man who raised me. Here's two of my favorite crafts that your kiddos can join in on, too!

1. Shirt & Tie Gift Boxes 


Full tutorial HERE.

2. Folded-Shirt Card


Full tutorial HERE.

Happy Father's Day! I hope you all find a way to let your fathers/husbands know how cool they are :)

Sunday, April 10, 2011

How Does She - Celebrates Spring

How Does She put together a great post the other day on 7 fun ways to celebrate spring -
check out the post HERE

She has such great things - like this yummy treat :)

.
Adorable Bunny Cookies

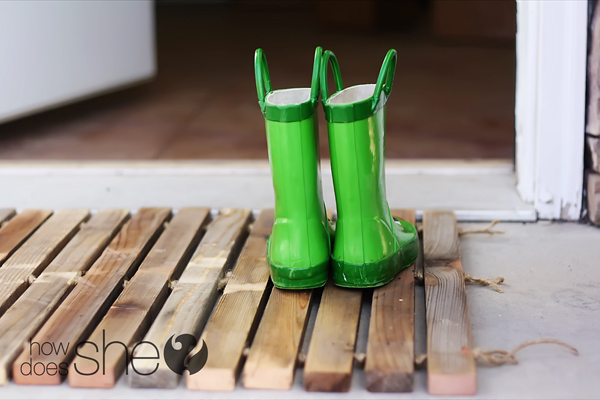
Wooden Drop Mat - I love it most because my boys have these boots too!
My kids love sidewalk chalk - and I know they would LOVE these heart shaped ones:


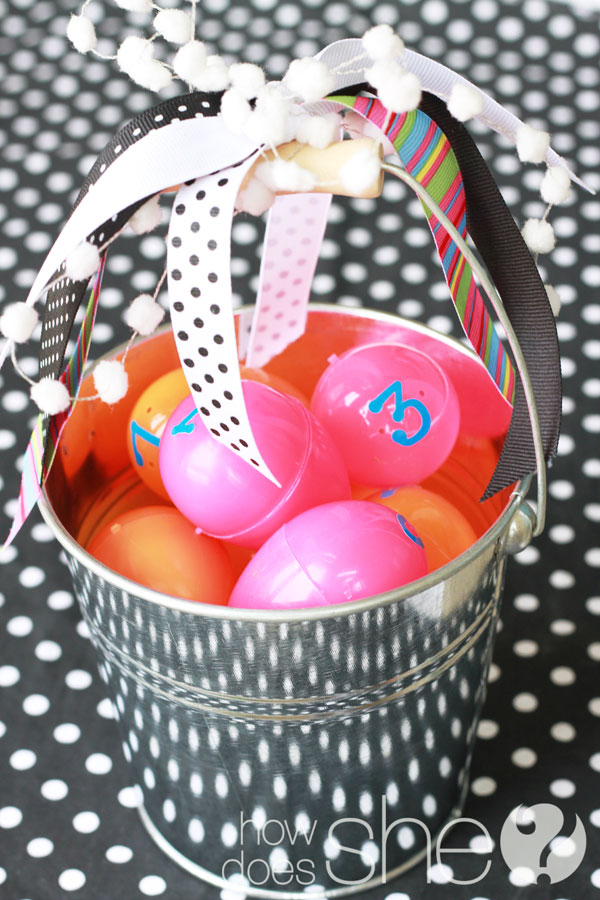
I also have to share this great idea for an Easter Countdown. 


Each egg is filled with a Bible reference about Christ’s last days and a symbol that goes along with the verse…to help us visual learners.


To make your own - check out the entire post HERE.


Saturday, February 5, 2011

Moving! - But still Pink and Lovely!!

We are moving our studio next week, so this weekend has been super busy!
But I did find some fun valentines crafts and tid bits that I wanted to share :)


This adorable pillow tutorial from A Crummy Marriage Blog


These super yum yum looking treats from It's a Crafty Life


And another great idea for your kids teacher's from Sisters Stuff

This great Pink Collage from A Creative Mint

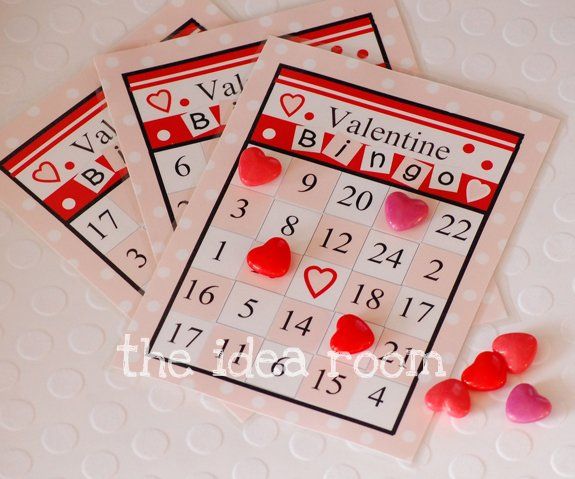
Valentines Bingo Cards from The Idea Room

Pillow Case dress from Sugar Bee

and this adorable burlap wreath from Choose to Thrive

Tuesday, June 22, 2010

Tuesday Tutorial: Room Signs

We have a Billiard room in our house. Its right off of our great room and I love our pool table and our pool lamp that came from my home growing up. But with all of the windows in that room there isn't any wall space to decorate and I feel like its really boring:


At the same time I don't want to do anything that's going to take away from the Pool Table and lamp being the focal point of the room. I saw an idea by Destiny over at A place for Us 5 about bringing the outside - inside. I thought the idea of a hanging room sign would be perfect for the space I have and the feel of the room.


I think it looks amazing! Here is a up close of the sign:


It was so easy to make too. I bought the wood premade from Roberts. The hanging bracket I found at Home Depot in the garden section. I had a couple of little screw hooks at home that I used to hang the sign and the chain came from an old broken toy.

First I painted the sign the color I wanted to show through. I used a dark bronze and I painted my chain and my hooks so that they would all match in color. I let it dry completely. I wanted it to look old and like the paint was peeling and decided to try using a cracking medium but I only used it in a few places on the board. I let that dry for an hour. I also took some Dove soap and rubbed that on a few places that I wanted the paint to come off and let the color underneath show through. The soap makes the paint come off easier so you don't have to sand as much.

I got my top coat color ready. Its important with a cracking medium that you don't over brush. So I loaded my sponge brush up with paint and did a nice even coat over the whole thing, making sure that it was thick enough to cover and not be touched up to much. I touched up the parts of the paint where there wasn't crackle showing through. I let it dry for an hour or so and then painted the other side. I let the whole sign dry overnight so that the paint was really set before I sanded. The next morning I sanded it like crazy to get the really distressed look. I cleaned it with a damp cloth and let it dry completely before I applied the vinyl.

Then I measured and attached the hooks and cut my chain to the right length and hung it up!


I think it makes such a big difference.
Now I just need some great bar stools and a little crown molding to finish it off!

Photobucket

Tuesday, June 8, 2010

Tuesday Tutorial: Subway art

I'm slowly working on redoing my bedroom, it seems like its always the room that gets neglected in my house. My husband and I went on our honeymoon to St Thomas and loved it. That's what I'm using as inspiration for our room. I have loved all the subway art that is out there and asked Lynnette to design a decal that was about romance and love.

First I got my wood. Since I wanted it to be more distressed I used a rough plywood. You could a smoother plywood if you want a smoother surface. I had my hubby cut two pieces the same size and then he used screws through the back to put them together. You could also use liquid nails to just glue them together. Then I used wood putty to fill in places that were a little too rough and where the two pieces of wood came together. I sanded it and was ready to paint!


I used a two tone paint technique and distressed it good.
(Lynnette will be doing a tutorial soon on how to get this distressed look).


Once it was all painted, I applied my vinyl!


I love how it turned out and cant wait to show you what it looks like when our room is all put together!
Photobucket

Tuesday, May 18, 2010

Tuesday Tutorial: Teacher Gifts

Its the end of the school year and I cant believe my son is graduating from Kindergarten! I wanted to do something special for his teacher. I found these great jars at Walmart and Target for between $4 and $5.


I added a small monogram with his teachers initial and filled them with white chocolate pretzels and now we have a cute, unique, and personalized gift for his teacher that didn't break the bank.


I have all sorts of ideas that I want to use this for. Gifts for friends or we use marbles as a reward system in our house and I want to use these to put on my boys jars. I think it would also make a great way to organize office supplies and craft supplies too.


Photobucket

Tuesday, May 4, 2010

Tuesday Tutorial - Reuse your Easter Buckets

If you didn't see our tutorial on the Easter Buckets, you have to go back and check it out. The question is what to do with those adorable buckets now that Easter is over.

This is what I did with mine:


First we found the buckets after searching everywhere -
We found some at Target, some at TJMAXX - you may even be able to find some at a garage sale :)


The next step I took was to raid my little sister's ribbon drawer.


And then tied them on to the side of the bucket handles.


Then I cut out my desired wording:
Diapers and Wipes - Why?
Well because I like to have them readily accessible, not in a drawer - but they are such an eyesore on the top of the changing table. So what better than some adorable buckets.

Applying the vinyl is super easy, as always.


And the final product, exactly what I had hoped for - So CUTE!


Sorry I don't have any final pics of the buckets in the room - we are still moving in and I don't even have the crib set up yet :)

Photobucket

Tuesday, April 13, 2010

Tuesday Tutorial: Etching glass

I tried glass etching when my husband and I were first married and it was a nightmare! I swore I would never do it again. But then I was introduced to etching with vinyl and its so easy and fast!

All you do is stick the vinyl on:
Brush the etching paste on and let it sit:

Rinse and your done!

Some of you may think you would never etch glass but there are some very practical purposes. One of my favorites is to personalize your glass baking dishes. You can etch your name on the bottom and never worry about losing your dishes again!


This would be such a useful and personalized wedding gift with the newlyweds monogram on the bottom. My favorite is this one.

You can also use this at Christmas time to etch on the simple glass bulbs that they carry at craft stores. You can make your own personalized ornaments that look professional! I have also seen a plain glass plate turned into a "Today is your Special Day" plate to be used on holidays and special occasions!

Jars, vases, mirrors, anything glass can now be personalized! Just remember that if you are ever going to use this technique you have to order the vinyl in reverse and weeded the opposite direction. You want the outline of the design, not the design itself.

Photobucket

Tuesday, March 16, 2010

Tuesday Tutorial: Easter Pails


Looking for a cute idea for your kids Easter Baskets...look no farther!

These pails are so easy and so cute.
All you need is the vinyl and the buckets.


We now have these designs up in our shop.
You can find them here.

How cute would these little mushrooms look on a pail or
even this swirl with your kids names!

How about just their names!

You can have so much fun with these pails and personalize them just for you!

Photobucket

Tuesday, March 9, 2010

Tuesday Tutorial: St Patricks Day Blocks

Hey everyone! This is Lisa and today is my first Tuesday Tutorial! Each Tuesday we will be showing a new way to use vinyl for decorating and organizing your home.

Today's project was inspired by St Patrick's Day which is just around the corner.


There are so many great patterns of Scrapbook paper out there and you can use them to make blocks for the Holidays.

To make these blocks you need:
  • Scrap pieces of wood
  • Scrapbook paper
  • Modge Podge, matte finish
  • Paint
  • Sandpaper
  • Sponge paint
  • Vinyl

To assemble the blocks:
  • First cut your wood to the sizes you want them to be. You can use any size of wood you have
  • Sand down the edges so that they are smooth
  • Paint the wood with your color choice. You can also sand the edges after painting them to give it a little bit of a distressed look.
  • Cut your paper to size. I like to take an ink pad and gently brush the edges of the paper against it so it helps give it a finished or aged look. Just choose a color that compliments your project.
  • With your foam brush cover the area where your scrapbook paper will be with a smooth medium layer of Modge Podge.
  • Carefully center your paper and press down smoothing it so that there are no bubbles. Allow to sit for a few minutes while putting light pressure to make sure the paper sticks and wont bubble. Then take and brush an even layer of Modge Podge over the paper. Be very careful to not allow the paper to bubble. If it does gently try to press it down or smooth out. The paper becomes sticky so be sure not to rip it. If you mess the paper up you can always remove it and do a new paper.
  • Allow to dry overnight and then gently apply the vinyl

You can even just do blocks without the scrapbook paper. Last year I made these Spring blocks using colored blocks and vinyl lettering.


Think of the cute blocks you could make with these farm animals or butterflies for a nursery. You could even use the farm animals to make some really cute Easter blocks.

There are so many possibilities!
Photobucket