DIY Chalkboard Lazy Susan
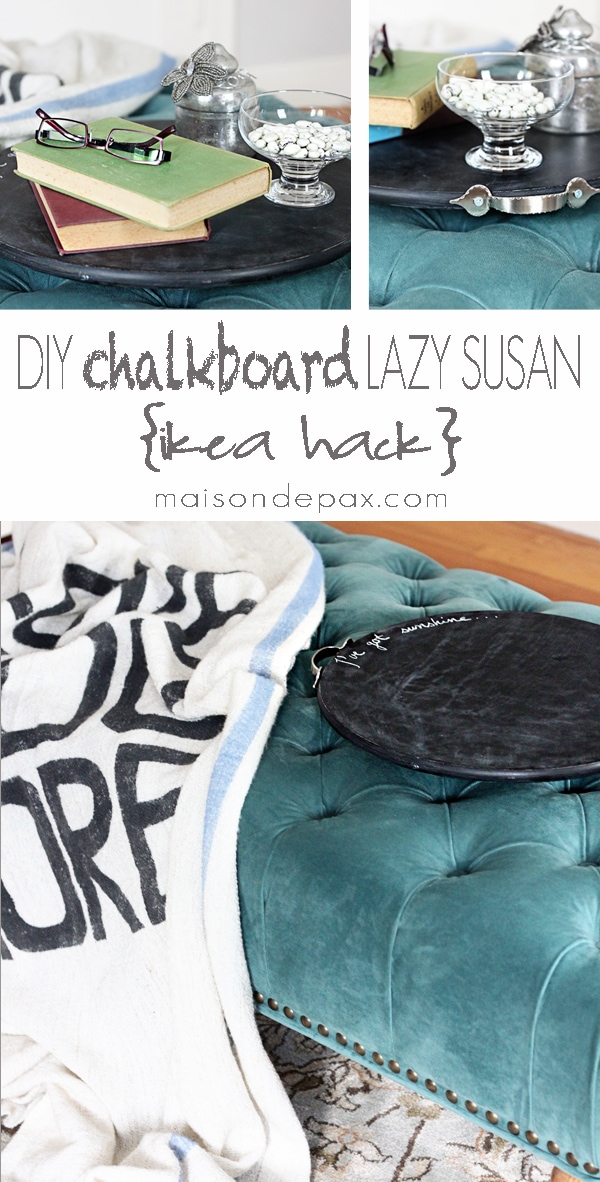
Who couldn’t use an extra pair of hands? A little help? A little added convenience? When I found this lazy susan at Ikea, I knew something could be done to make it a truly adorable and functional piece…
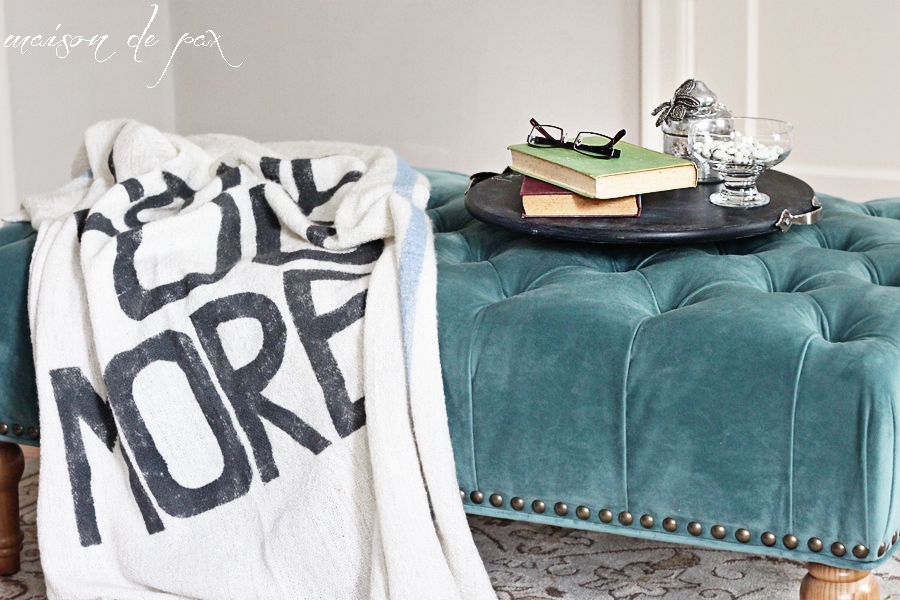
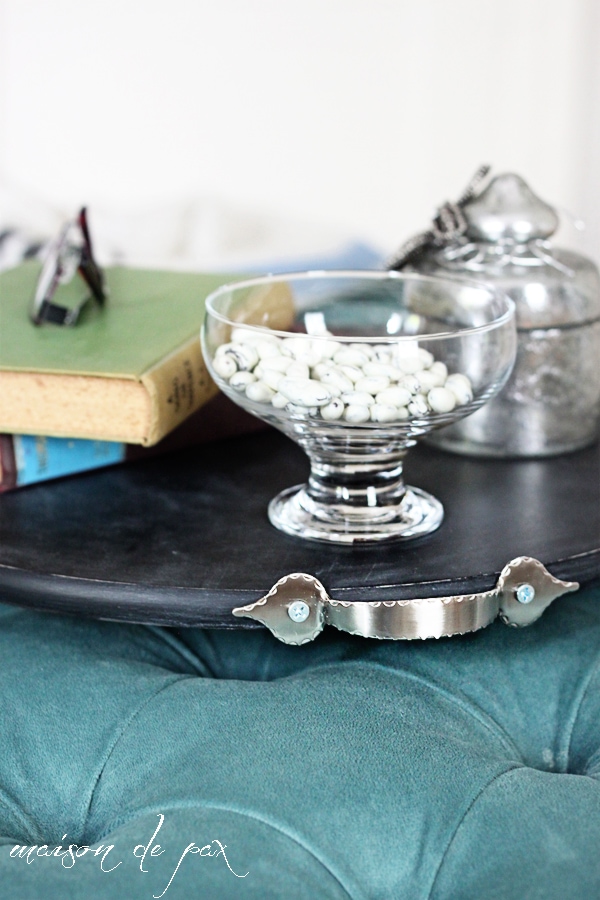
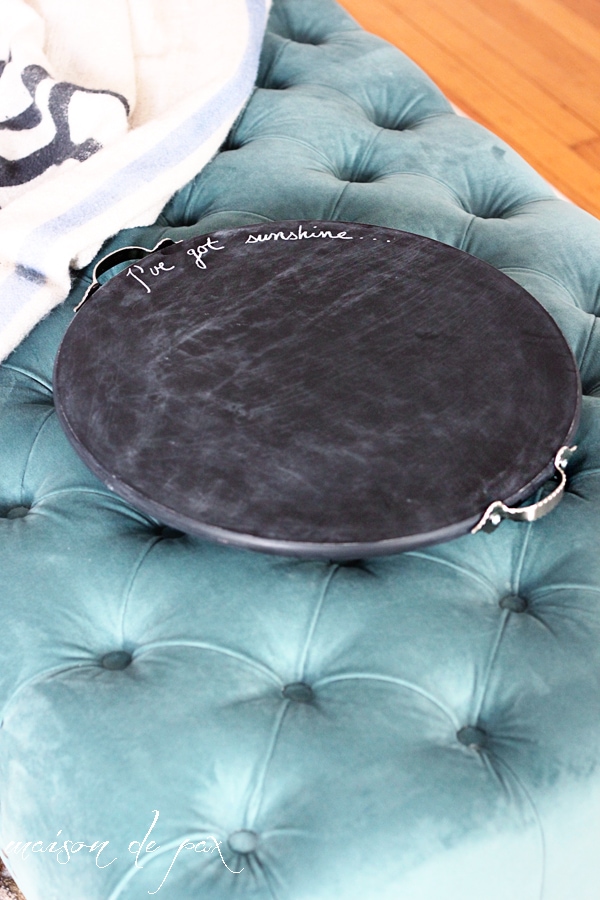
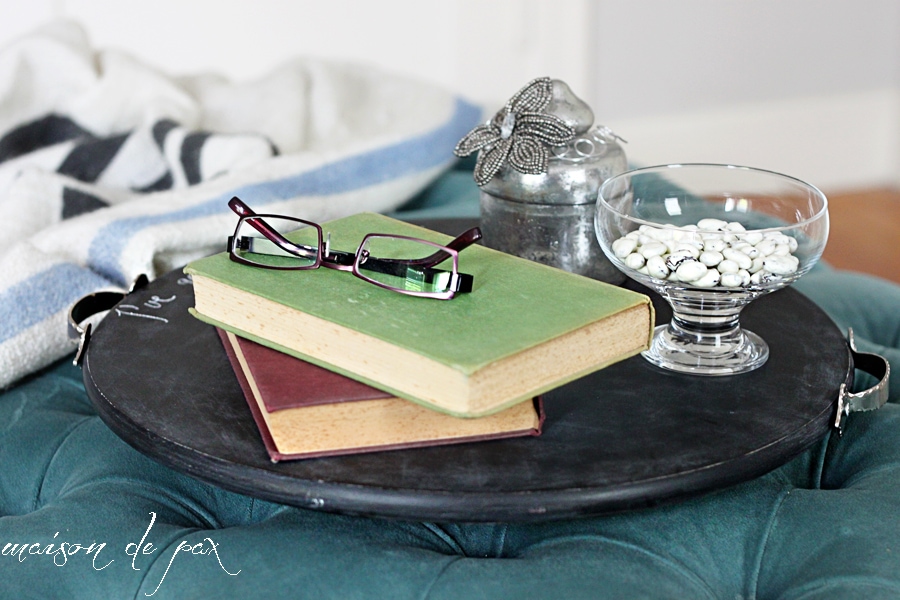
Obviously, it would make a wonderful centerpiece, especially when you have a meal with lots of condiments. 😉 And it would be a charming serving piece, as well, with labels for your goods, like sugar and cream for your coffee or toppings for ice cream sundays. For now, though, I just decided to use it as an ottoman tray.
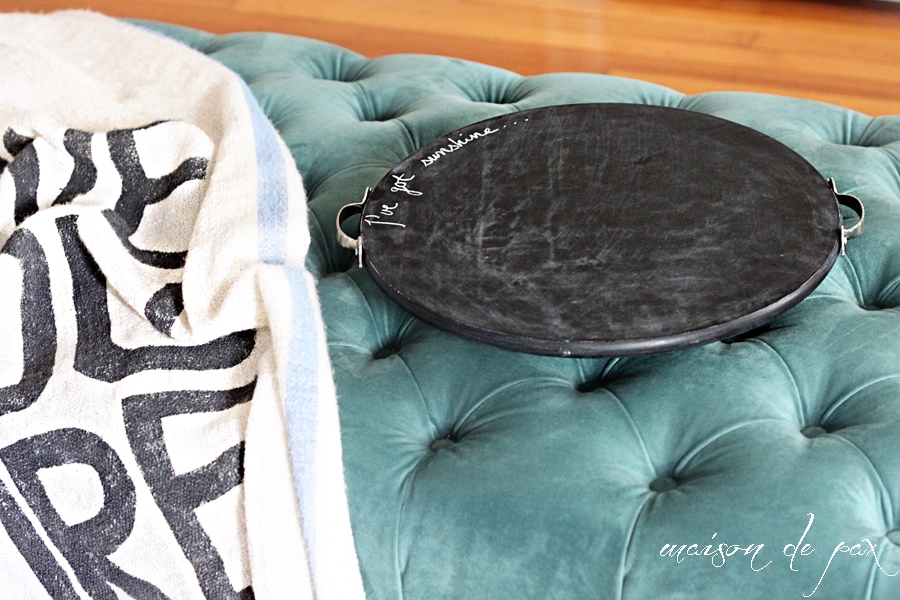
The handles not only make it easier to spin but also easier to move. I love it!
And here is how you can make your own. You’ll need the following:
- one snudda lazy susan from Ikea
- sandpaper
- chalkboard paint
- drill
- 2 cabinet handles with screws that attach from the front
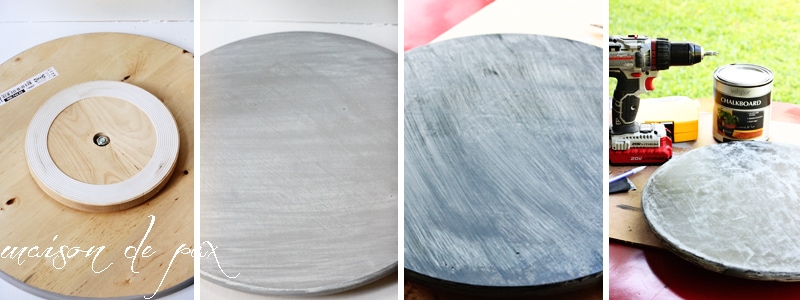
I had actually originally painted it gray using chalk paint, but the gray just wasn’t doing it for me… Enter makeover #2. 😉 It’s unbelievably simple. Just paint and add handles. Boom. But to make it last, I did employ a few little tricks you might find helpful.
First, sand the surface with rough sandpaper (60-100 grit) to allow the chalkboard paint to adhere better. Second, paint VERY light coats of paint and lightly sand with finishing sandpaper in between coats (I used 320 grit) to achieve a super smooth finish. I have found that a smooth finish is key to making a homemade chalkboard that works well and feels professional. Third, don’t forget to prime your chalkboard (which is a fancy way to say rub chalk all over it and wipe it off before you use it to actually write anything).
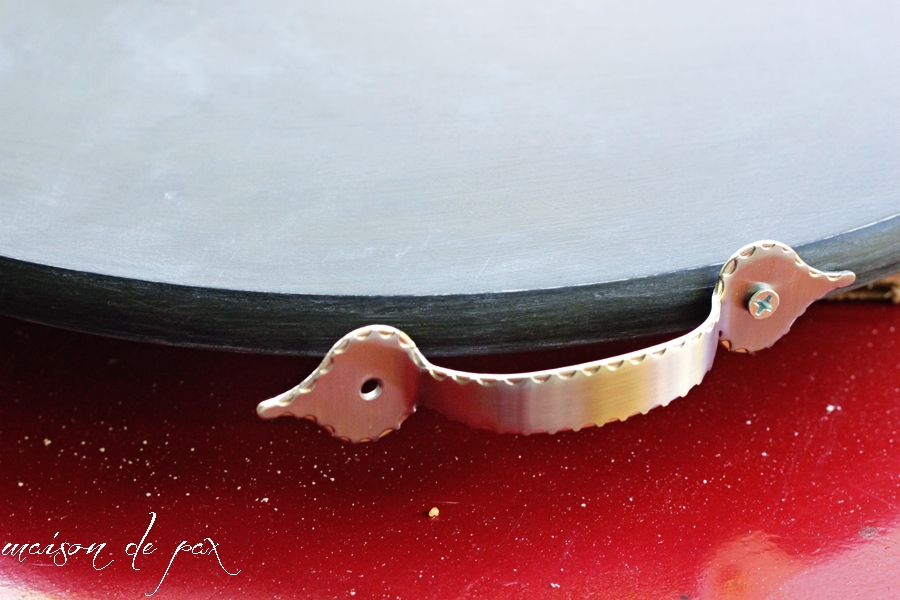
The only slightly tricky part is adding the handles. Be sure to get handles that you attach via screws from the front. I actually had these leftover from another project; I think I got them at Lowes. Mark the spot for one side of one handle and then pre-drill a hole. Screw it in completely, but don’t over tighten. You’ll notice that due to the curve of the lazy susan, the other side doesn’t lie flat yet.
It’s ok. Press it down (don’t use glass handles or something that might break when you put some pressure on them) and mark your spot. Pre-drill again, add the screw, and then go back and forth tightening one side and then the other. Your drilling will actually help bend your handle to match the curve of the tray.
I love how functional the addition of handles makes it. This is now a perfect serving tray and an adorable piece for entertaining. Who doesn’t love a good chalkboard?
Especially one that puts good things within reach.

What a fun project! Such a great idea. The handles are perfect!
Thanks, Karen! So glad you like it. 🙂
Great idea Rachel – and perfect with the addition of the little handles!
Thanks, Krista!