In this article, we will look at a way to give the user the ability to upload any files, such as textures. And let's touch on the topic of launching JS functions from C# within Unity. As a result, we will get a script that, by calling just one function, will open a window for selecting files.
The standard way to add js scripts to a project is as follows:
-
Create a Plugins folder, it's a special folder for plugins .
Create a .jslib file that will contain our JS code.
Functions from JS can be called via:
[DllImport("__Internal")] static extern void [JSFunctionName]();Â , where [JSFunctionName] is the name of the function from .jslib .
C# Methods can be called from JS via a GameObject name and a method name:
MyGameInstance.SendMessage('MyGameObject', 'MyFunction', [var]); , where MyGameObject is the name of a game object, MyFunction is the name of a method in any of components, [var] is a number or a string that will be passed to the method. Works like GameObject.SendMessage() .
In .jslib, it is mandatory to add functions to the main library using mergeInto(), examples:
mergeInto(LibraryManager.library,
{
	// Your code here
  Hello: function () {
    window.alert("Hello, world!");
  }
});
Or like this:
var SomeObject = {
	// Your code here
  Hello: function () {
    window.alert("Hello, world!");
  }
};

mergeInto(LibraryManager.library, SomeObject);
See the Unity documentation for more details .
Advice
If you use Visual Studio, then I advise you to add an association with a JavaScript editor for .jslib files.

We reviewed the basic information. Now let's start implementing feature that the user can upload a texture, for example for an avatar.
To request a file, we need a js script that will interact with the browser, since Unity does not provide direct access to the web form through C#. And so, our script will look like this:
Creating .jslib files
In Unity, you can't create a .jslib file from the editor, for this you need to open a folder in the explorer and set the extension of a js file manually, this is long and inconvenient, so let's add the following script that complements the editor to our project:
// Assets/Editor/JSLibFileCreator.cs
using System.IO;
using UnityEditor;

public class JSLibFileCreator
{
    [MenuItem("Assets/Create/JS Script", priority = 80)]
    private static void CreateJSLibFile()
    {
      	// Script template so that the file is not empty initially
        var asset =
            "mergeInto(LibraryManager.library,\n" +
            "{\n" +
	            "\t// Your code here\n" +
            "});";
				// We take the path to the current open folder in the Project window
        string path = AssetDatabase.GetAssetPath(Selection.activeObject);
        if (path == "")
        {
            path = "Assets";
        }
        else if (Path.GetExtension(path) != "")
        {
            path = path.Replace(Path.GetFileName(AssetDatabase.GetAssetPath(Selection.activeObject)), "");
        }
				// Creating a .jslib file with a template
        ProjectWindowUtil.CreateAssetWithContent(AssetDatabase.GenerateUniqueAssetPath(path + "/JSScript.jslib"), asset);
        // Saving Assets
      	AssetDatabase.SaveAssets();
    }
}
Now we can create .jslib files without too much headache, like this:
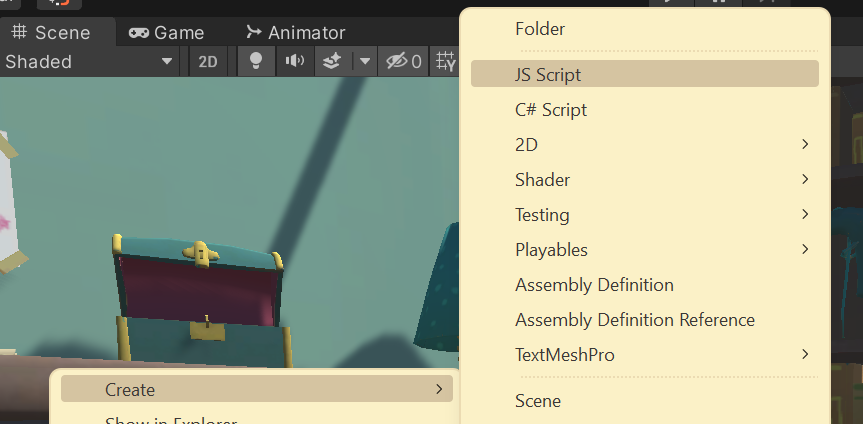
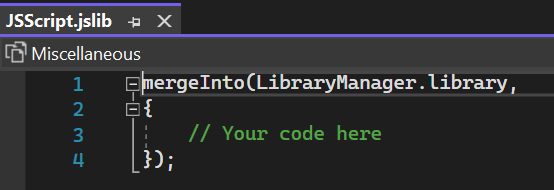
Created file:

If we open it we will see our template:
// Assets/Plugins/WebGL/JSFileUploader.jslib
mergeInto(LibraryManager.library,
    {
        InitFileLoader: function (callbackObjectName, callbackMethodName) {
						// Strings received from C# must be decoded from UTF8
            FileCallbackObjectName = UTF8ToString(callbackObjectName);
            FileCallbackMethodName = UTF8ToString(callbackMethodName);

          	// Create an input to take files if there isn't one already
            var fileuploader = document.getElementById('fileuploader');
            if (!fileuploader) {
                console.log('Creating fileuploader...');
                fileuploader = document.createElement('input');
                fileuploader.setAttribute('style', 'display:none;');
                fileuploader.setAttribute('type', 'file');
                fileuploader.setAttribute('id', 'fileuploader');
                fileuploader.setAttribute('class', 'nonfocused');
                document.getElementsByTagName('body')[0].appendChild(fileuploader);

                fileuploader.onchange = function (e) {
                    var files = e.target.files;

                  	// If the file is not selected, we complete the execution and call unfocus
                  	// Note: If you need to handle the case where the file is not
                  	// selected, then you can call SendMessage and pass
                  	// null, instead ResetFileLoader()
										if (files.length === 0) {
                        ResetFileLoader();
                        return;
                    }

                    console.log('ObjectName: ' + FileCallbackObjectName + ';\nMethodName: ' + FileCallbackMethodName + ';');
                    SendMessage(FileCallbackObjectName, FileCallbackMethodName, URL.createObjectURL(files[0]));
                };
            }

            console.log('FileLoader initialized!');
        },


				// This function is called when the button is pressed, because browser protection doesn't skip click() call
  			// programmatically
        RequestUserFile: function (extensions) {
          	// Decoding the string from UTF 8
            var str = UTF8ToString(extensions);
            var fileuploader = document.getElementById('fileuploader');

          	// If for some reason the fileuploader does not exist - set it
          	// This can happen in Blazor.NET projects
            if (fileuploader === null)
                InitFileLoader(FileCallbackObjectName, FileCallbackMethodName);

          	// Set the received extensions
            if (str !== null || str.match(/^ *$/) === null)
                fileuploader.setAttribute('accept', str);

          	// Focus on input and click
            fileuploader.setAttribute('class', 'focused');
            fileuploader.click();
        },

  			// This function is called after the file is received.
  			// It can be called from RequestUserFile or fileUploader.onchange
  			// not from C#, which will be faster, but I'm using the call from C# as a mini-example
  			// of calling a function without parameters
        ResetFileLoader: function () {
            var fileuploader = document.getElementById('fileuploader');

            if (fileuploader) {
              	// Removing input from focus
                fileuploader.setAttribute('class', 'nonfocused');
            }
        },
    });
And let's create a wrapper for convenient use of our js script:
// Assets/Scripts/FileUploader.cs
using System;
using System.Runtime.InteropServices;
using UnityEngine;

// Helper component to get a file
public class FileUploader : MonoBehaviour
{
    private void Start()
    {
    		// We don't need to delete it on the new scene, because system is singletone
        DontDestroyOnLoad(gameObject);
    }

    // This method is called from JS via SendMessage
    void FileRequestCallback(string path)
    {
    		// Sending the received link back to the FileUploaderHelper
        FileUploaderHelper.SetResult(path);
    }
}

public static class FileUploaderHelper
{
    static FileUploader fileUploaderObject;
    static Action<string> pathCallback;

    static FileUploaderHelper()
    {
        string methodName = "FileRequestCallback"; // We will not use reflection, so as not to complicate things, hardcode :)
        string objectName = typeof(FileUploaderHelper).Name; // But not here

      	// Create a helper object for the FileUploader system
        var wrapperGameObject = new GameObject(objectName, typeof(FileUploader));
        fileUploaderObject = wrapperGameObject.GetComponent<FileUploader>();

      	// Initializing the JS part of the FileUploader system
        InitFileLoader(objectName, methodName);
    }

    /// <summary>
    /// Requests a file from the user.
    /// Should be called when the user clicks!
    /// </summary>
    /// <param name="callback">Will be called after the user selects a file, the Http path to the file is passed as a parameter</param>
    /// <param name="extensions">File extensions that can be selected, example: ".jpg, .jpeg, .png"</param>
    public static void RequestFile(Action<string> callback, string extensions = ".jpg, .jpeg, .png")
    {
        RequestUserFile(extensions);
        pathCallback = callback;
    }

    /// <summary>
    /// For internal use
    /// </summary>
    /// <param name="path">The path to the file</param>
    public static void SetResult(string path)
    {
        pathCallback.Invoke(path);
        Dispose();
    }

    private static void Dispose()
    {
        ResetFileLoader();
        pathCallback = null;
    }

  	// Below we declare external functions from our .jslib file
    [DllImport("__Internal")]
    private static extern void InitFileLoader(string objectName, string methodName);

    [DllImport("__Internal")]
    private static extern void RequestUserFile(string extensions);

    [DllImport("__Internal")]
    private static extern void ResetFileLoader();
}
And for tests, we will create such a script that will receive a picture and set it as a user avatar:
// Assets/Scripts/AvatarController.cs
using System.Collections;
using UnityEngine;
using UnityEngine.Networking;
using UnityEngine.UI;

public class AvatarController : MonoBehaviour
{
		// Link to the UI picture of the avatar in Canvas
    public Image avatarImage;

    // This method is called by the button (Button component)
    public void UpdateAvatar()
    {
    		// Requesting a file from the user
        FileUploaderHelper.RequestFile((path) =>
        {
        		// If the path is empty, ignore it.
            if (string.IsNullOrWhiteSpace(path))
                return;

            // Run a coroutine to load an image
            StartCoroutine(UploadImage(path));
        });
    }

    // Coroutine for image upload
    IEnumerator UploadImage(string path)
    {
    		// This is where the texture will be stored.
        Texture2D texture;

        // using to automatically call Dispose, create a request along the path to the file
        using (UnityWebRequest imageWeb = new UnityWebRequest(path, UnityWebRequest.kHttpVerbGET))
        {
						// We create a "downloader" for textures and pass it to the request
            imageWeb.downloadHandler = new DownloadHandlerTexture();

            // We send a request, execution will continue after the entire file have been downloaded
            yield return imageWeb.SendWebRequest();

            // Getting the texture from the "downloader"
            texture = ((DownloadHandlerTexture)imageWeb.downloadHandler).texture;
        }

				// Create a sprite from a texture and pass it to the avatar image on the UI
        avatarImage.sprite = Sprite.Create(
            texture,
            new Rect(0.0f, 0.0f, texture.width, texture.height),
            new Vector2(0.5f, 0.5f));
    }
}
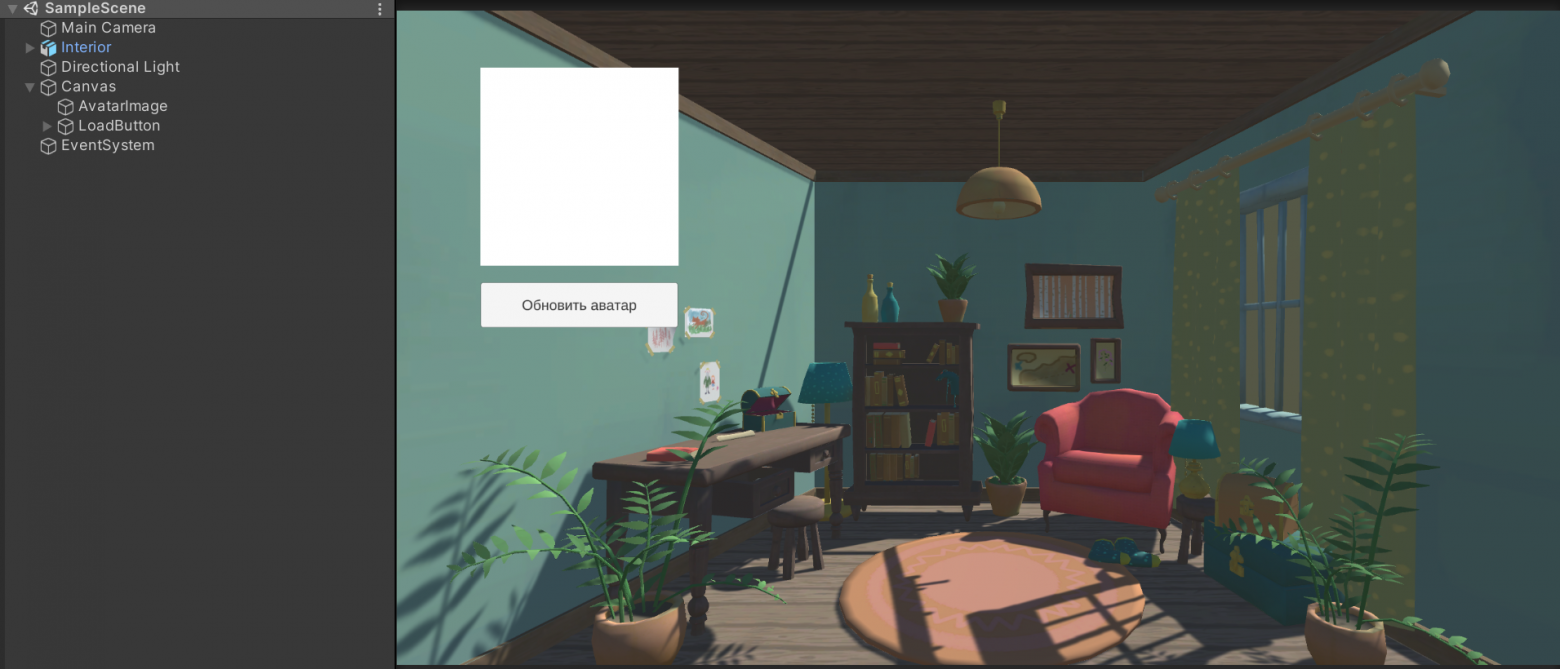
And also create a small scene:
Results of use on different browsers
Edge


Chrome

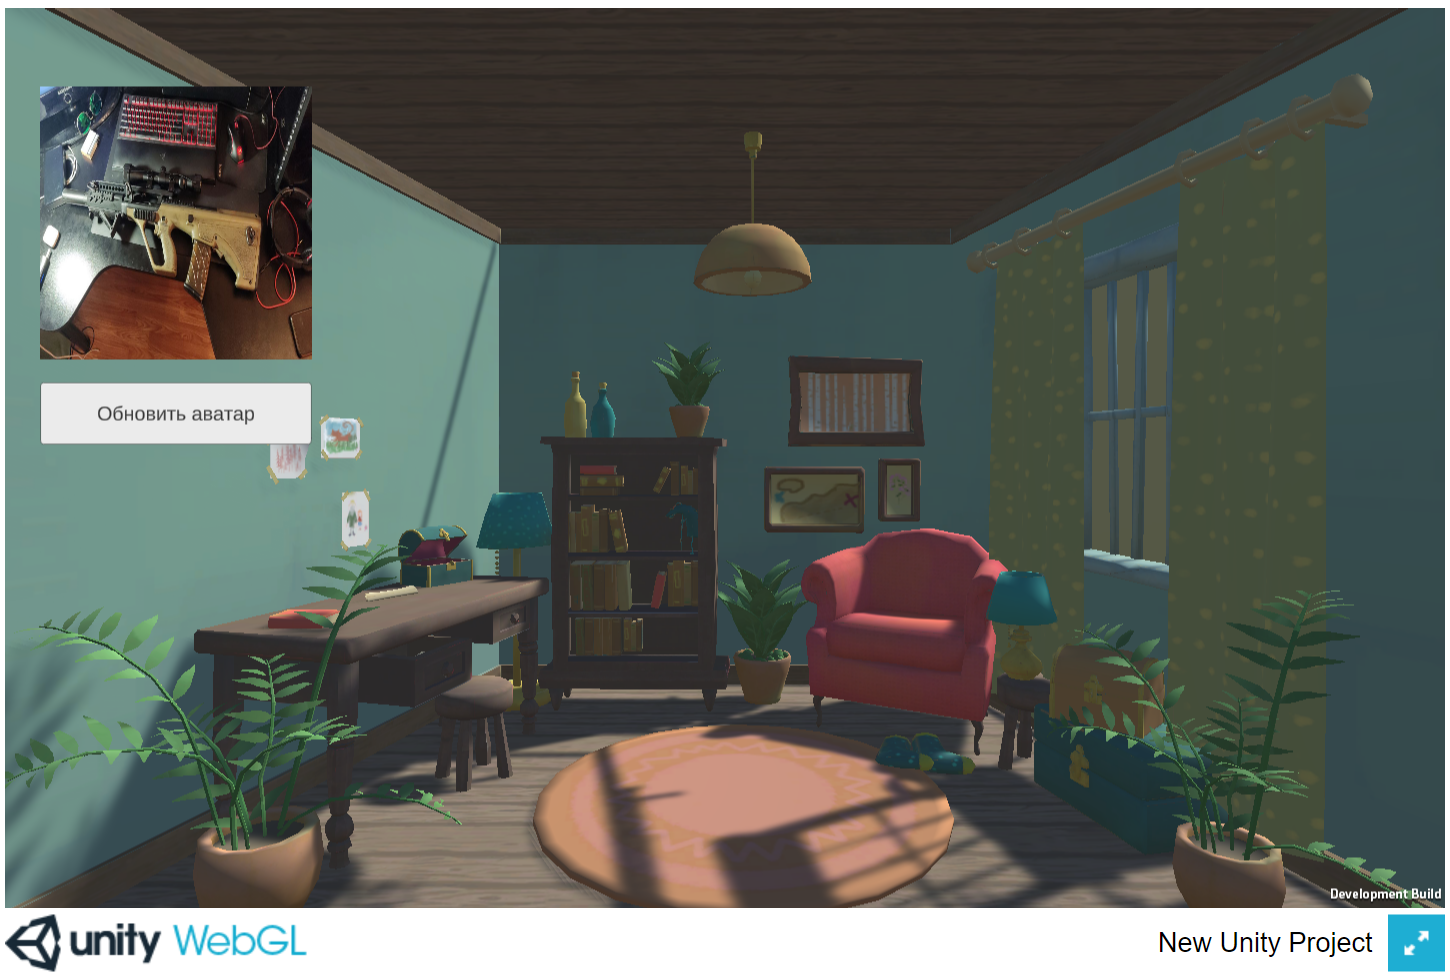
Firefox

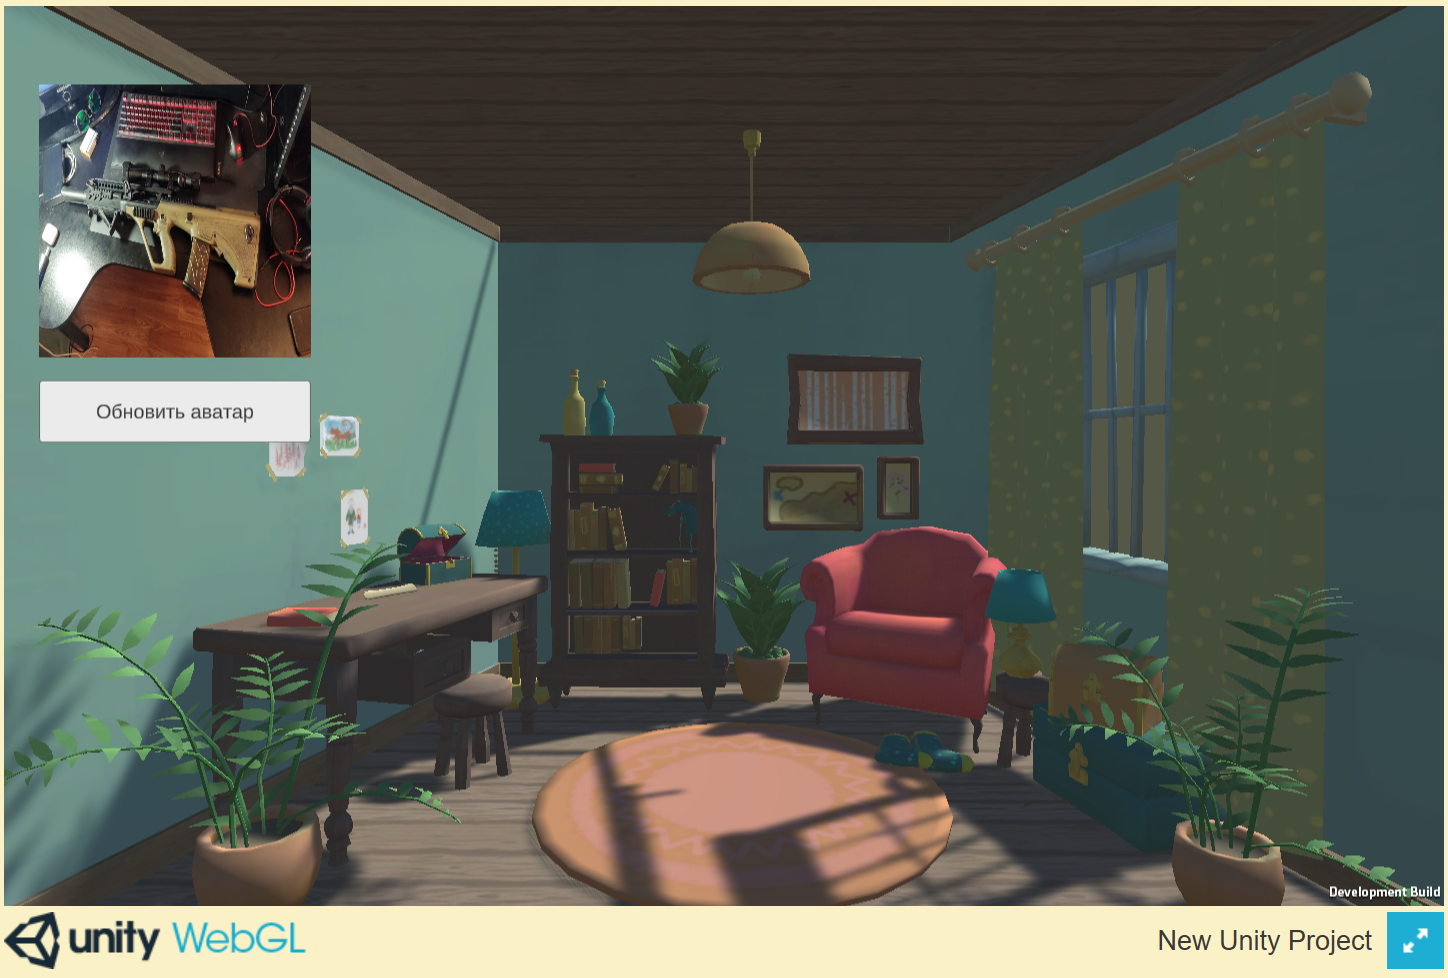
As a result, we have a system for querying the user's files, which returns the path to the selected file in 1 function call:
Action<string> callback = (str) => { /* Your file handler code here*/ };
FileUploaderHelper.RequestFile(callback);

// Or so, if we need not pictures, but other, special files:

FileUploaderHelper.RequestFile(callback, ".txt, .docx, .csv");
Thank you all for your attention, I hope my articles help you in your projects! I will be glad to additions and criticism.
Code on GitHub:
Translated for TechNation GlobalTalent Visa.