Learning Objective: Prep for Module 4
Helpful Links:
The goal of this exercise is to use set up the required repository secrets to enable you to connect to Spawn data-containers.
You will use Gitpod to create a temporary development environment. In that development environment, you will authenticate to Spawn, onboard, and then generate a token. That token must be saved as a repository secret in your GitHub repo.
-
In a new tab or browser window, open this url
https://gitpod.io/#https://github.com/sqlity-net/dataplatform-devops-exercisesgitpod link 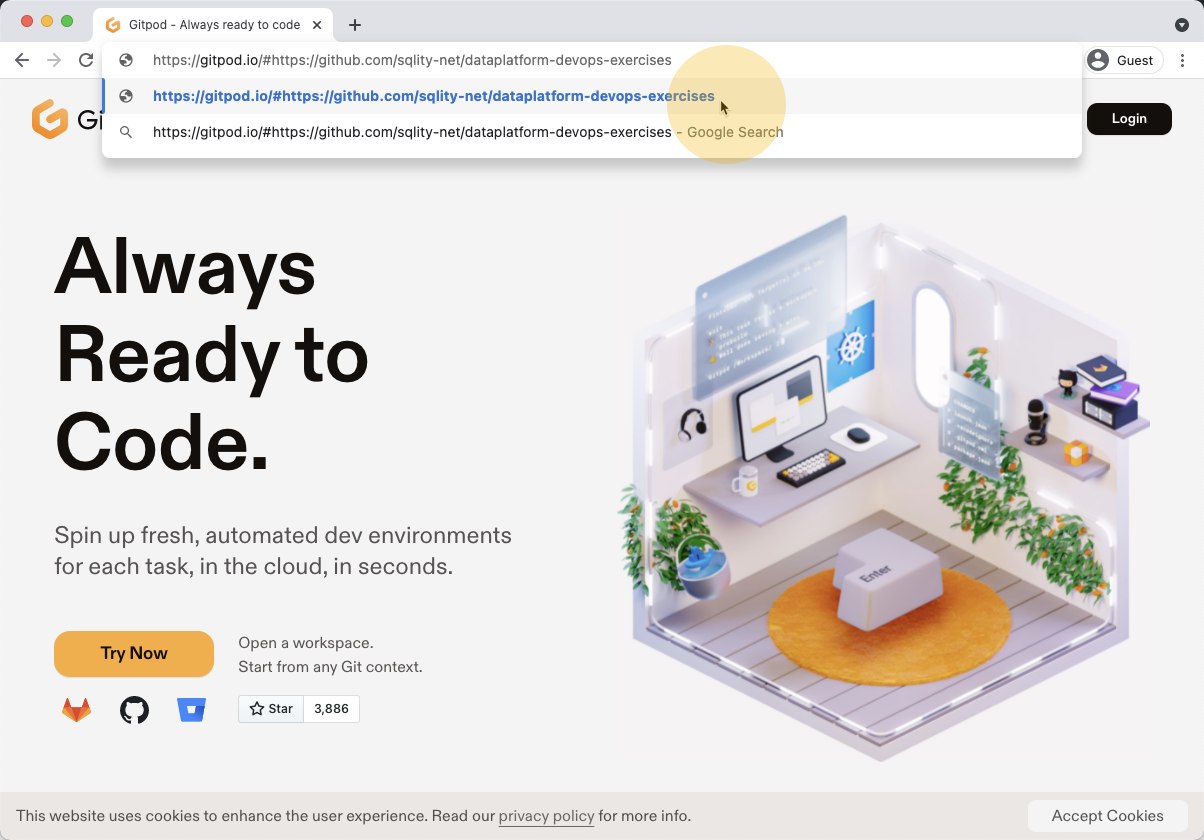
-
Login by clicking on "Continue with GitHub"
gitpod login 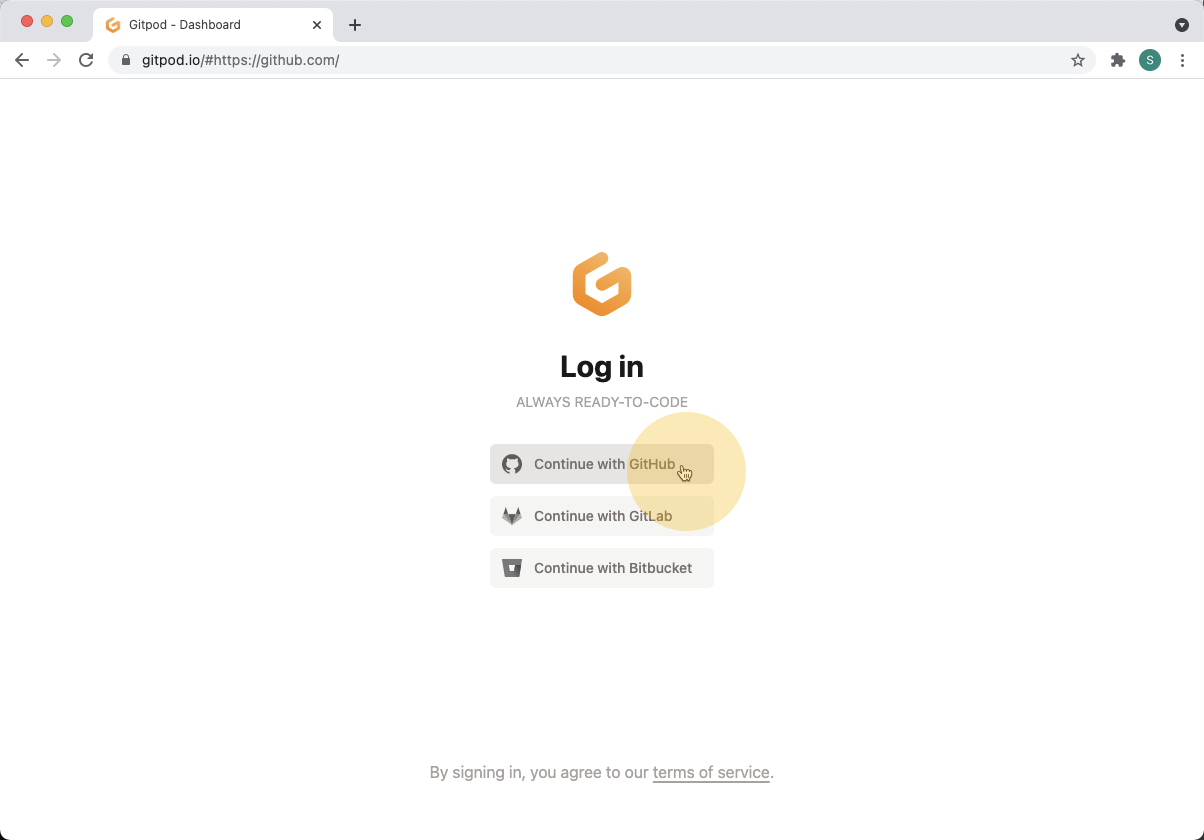
-
Click the green "Authorize gitpod-io" button.
gitpod login 2 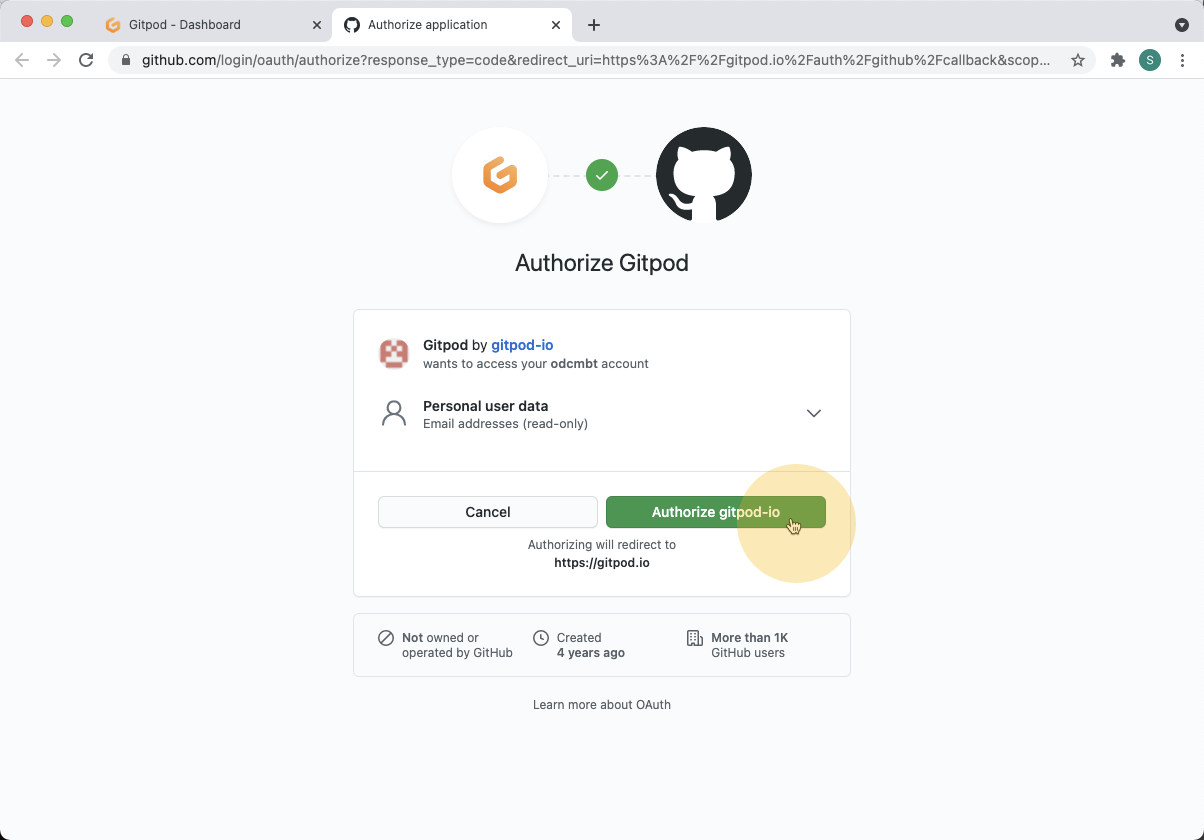
-
Wait for a couple of minutes while Gitpod processes the request.
wait for pod creation 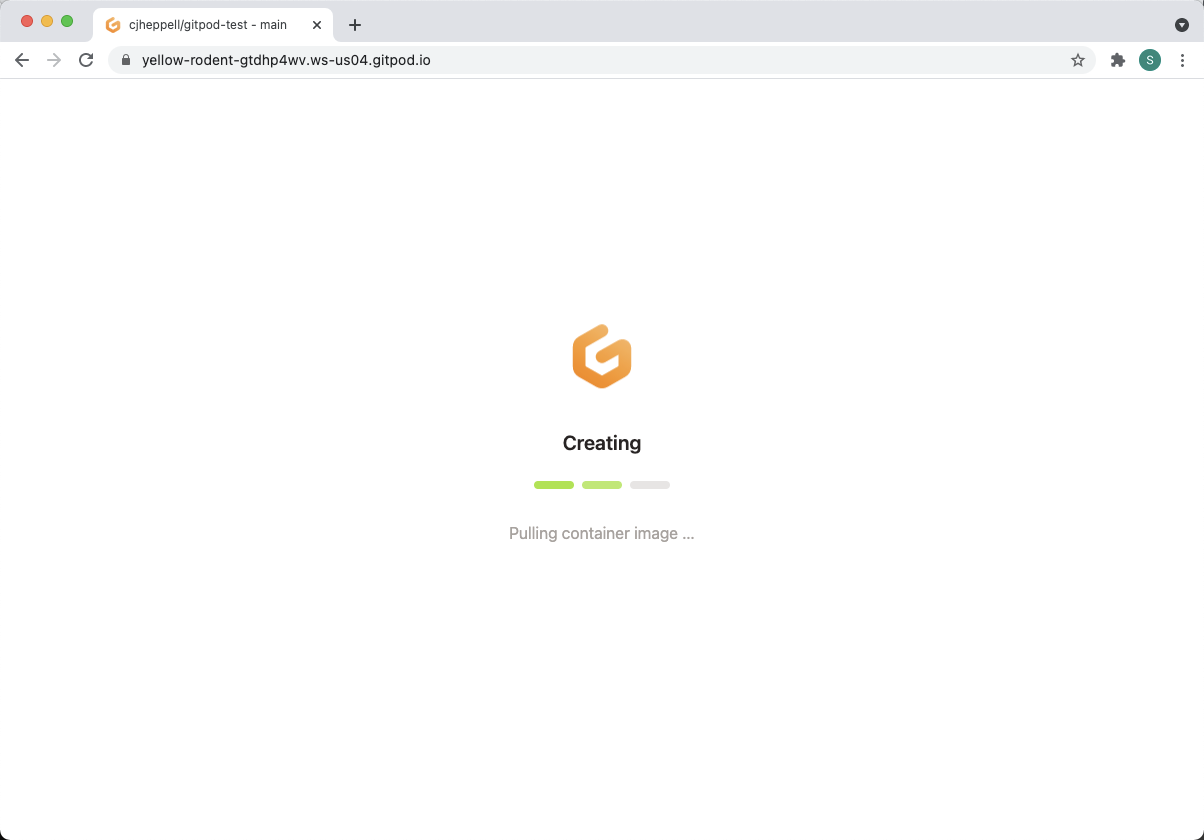
-
Gitpod will create a new development environment for you. In the bottom right-hand section, open the "TERMINAL" tab.
open terminal and increase its size 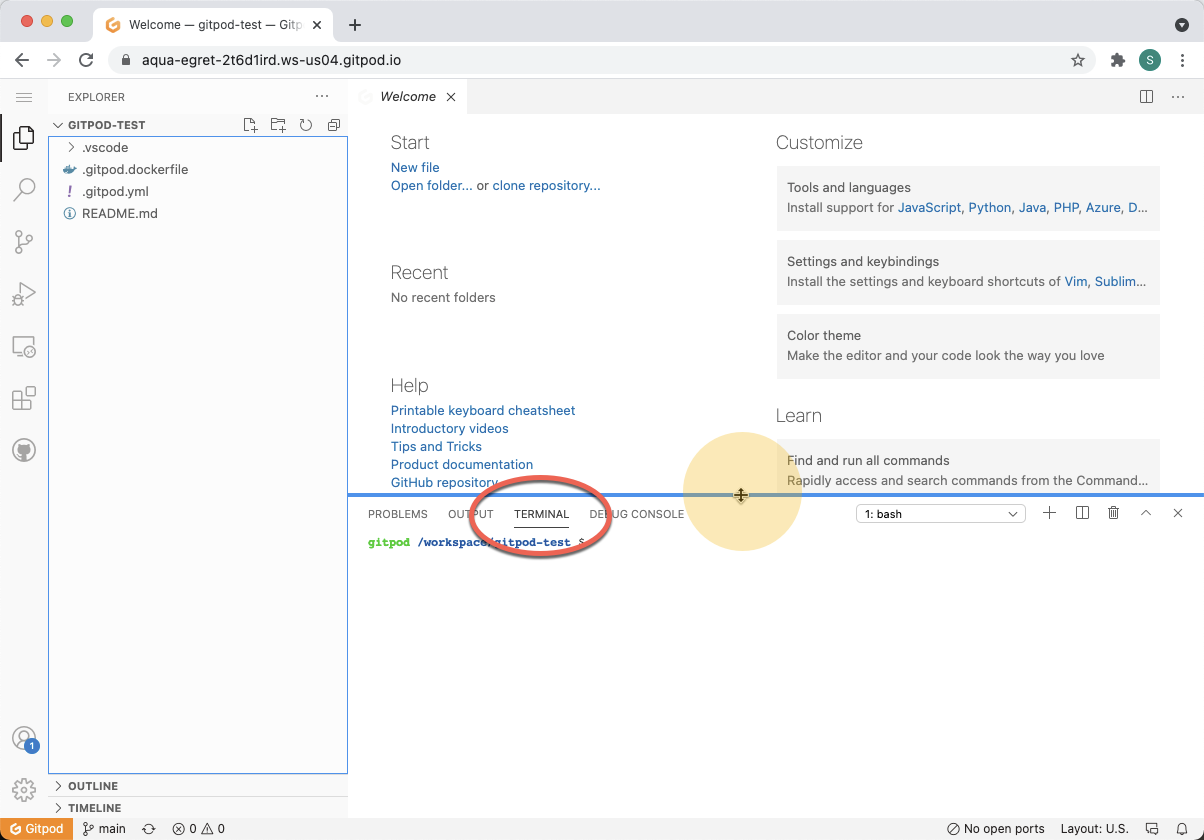
-
To login to Spawn, run the
spawnctl authcommand in the TERMINAL area.spawnctl auth 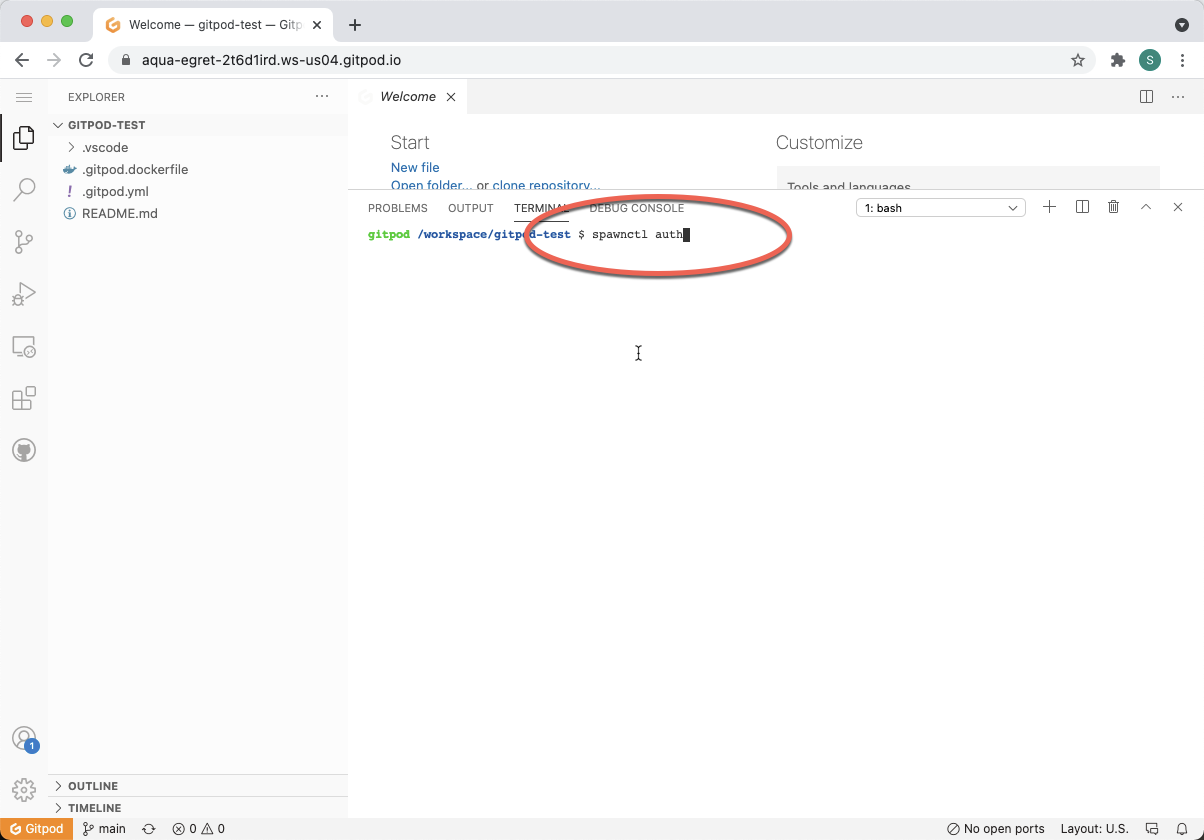
-
This will print a link. You must manually click this link to complete the authorization process.
spawnctl auth link 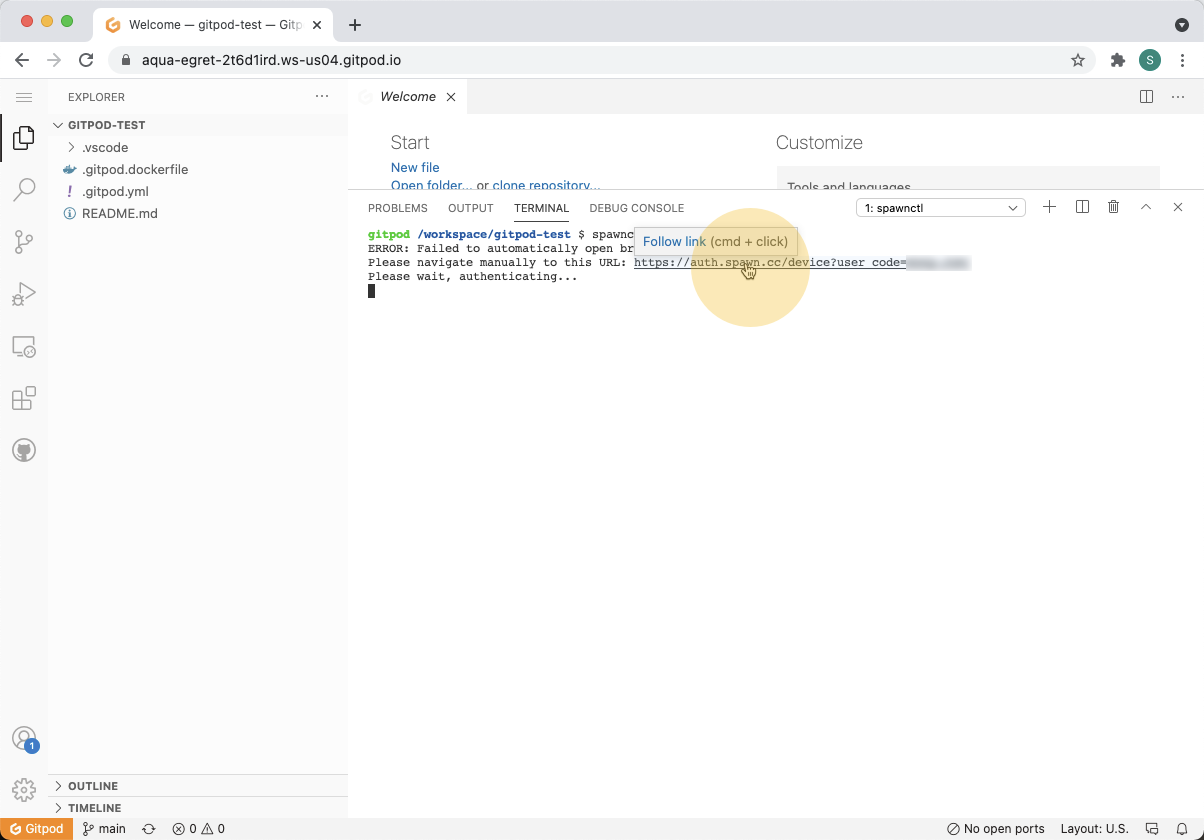
-
Click on the "Open" button in the confirmation dialog.
spawnctl auth link confirm 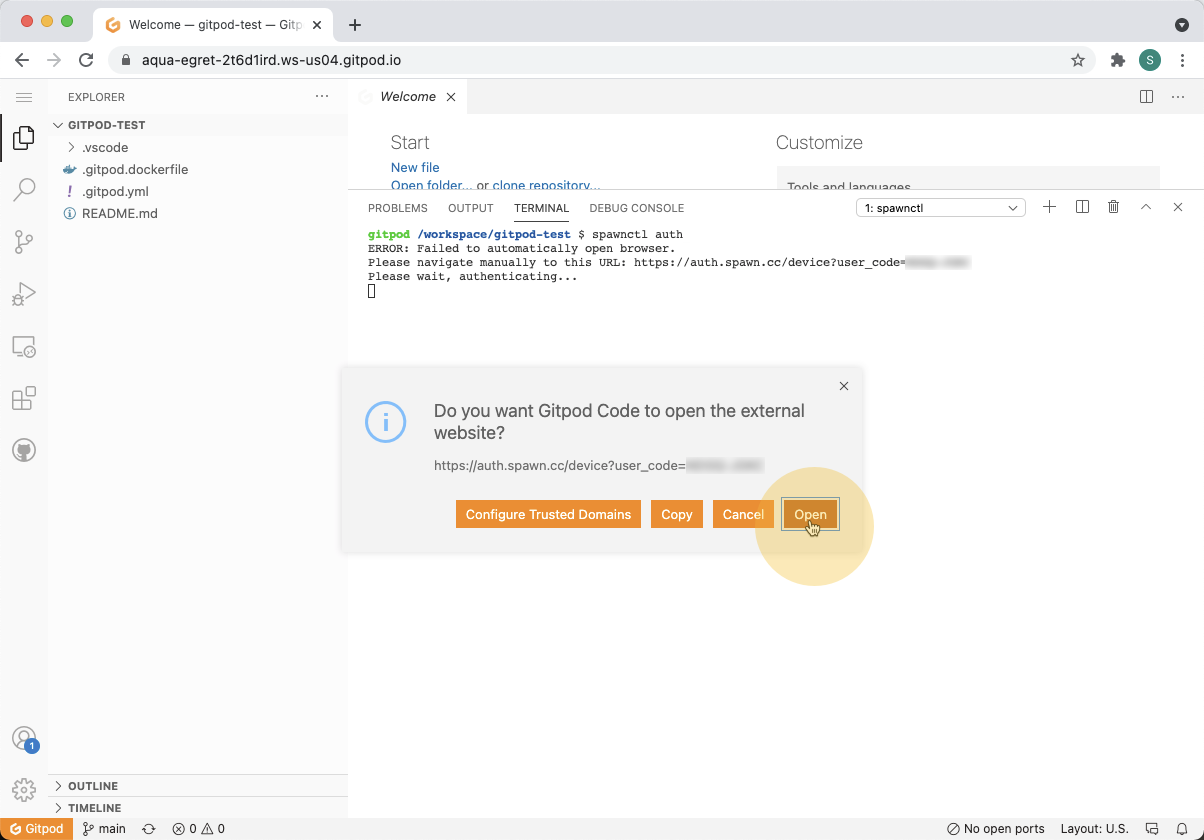
-
Click "Submit" in the new window. Do not change the displayed code.
github authentication 1 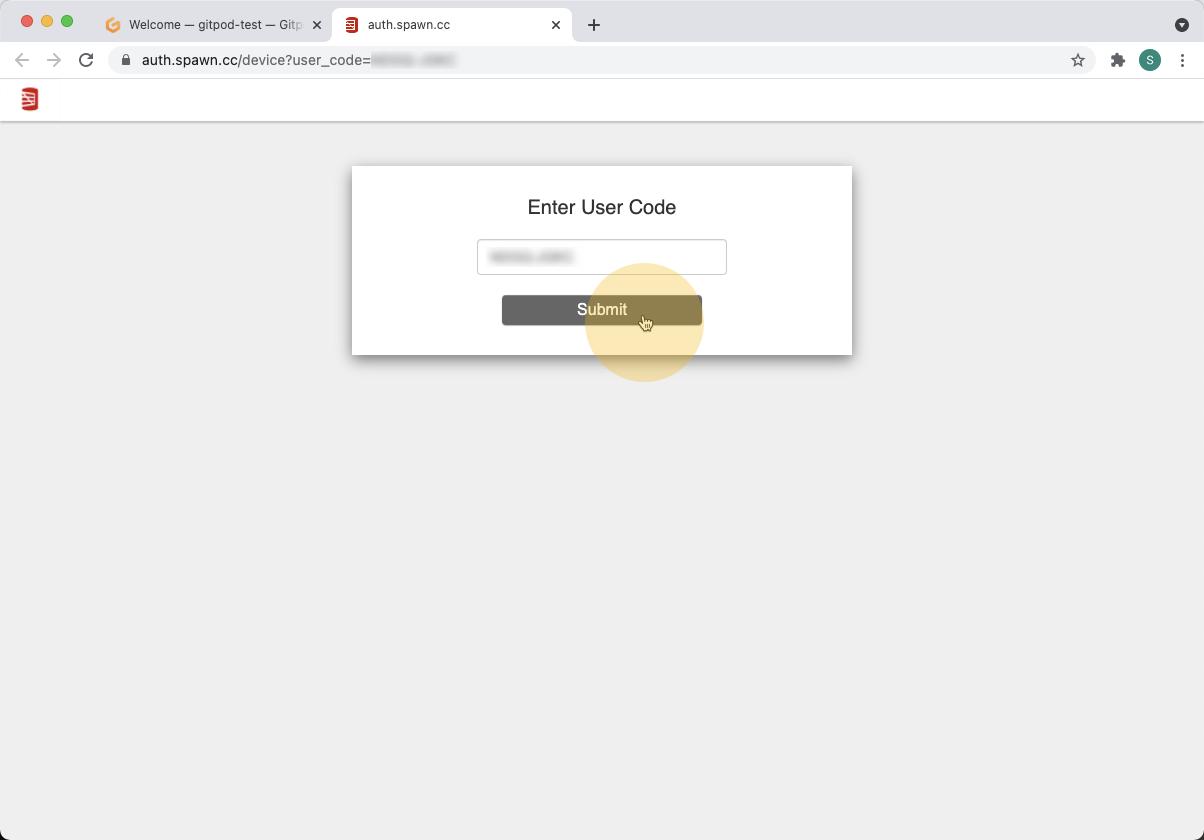
-
This will take you to an authorization page. Click the green "Authorize red-gate" button.
github authentication 2 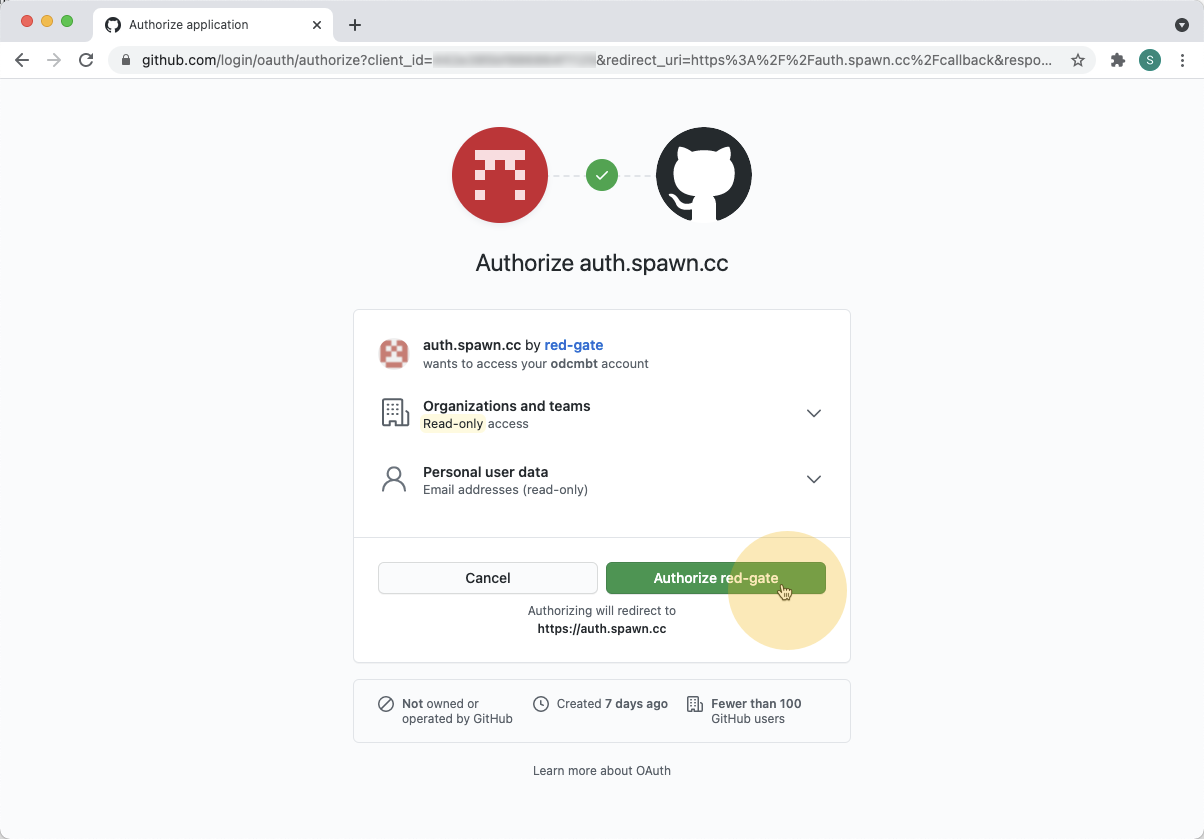
-
You should now see a "Login Successful for spawnctl" screen. Please close this tab. It is not needed.
github authentication success 
-
In the Gitpod terminal, you may need to wait for 10-20 seconds until "Authenticated successfully." appears. Now enter the
spawnctl onboardcommand to accept license and terms of use agreements.spawnctl onboard 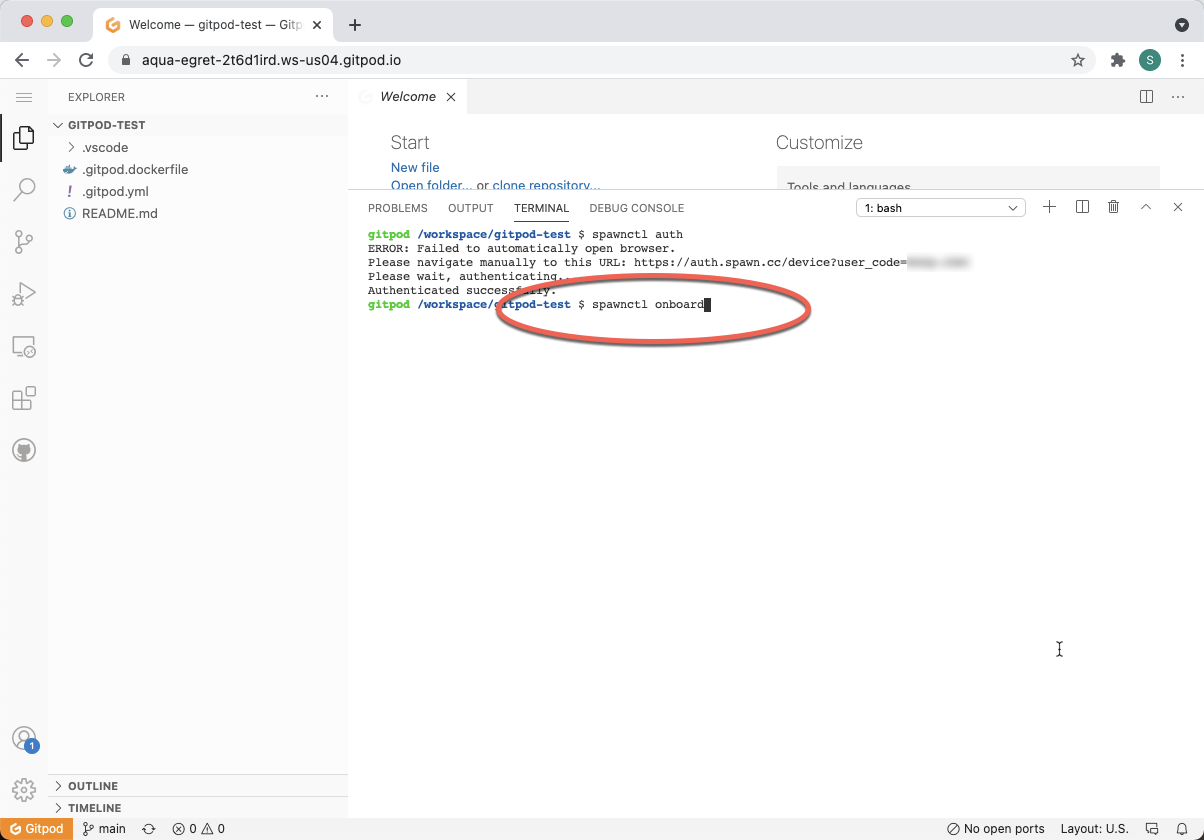
-
Follow the three prompts as shown.
y,accept,accept 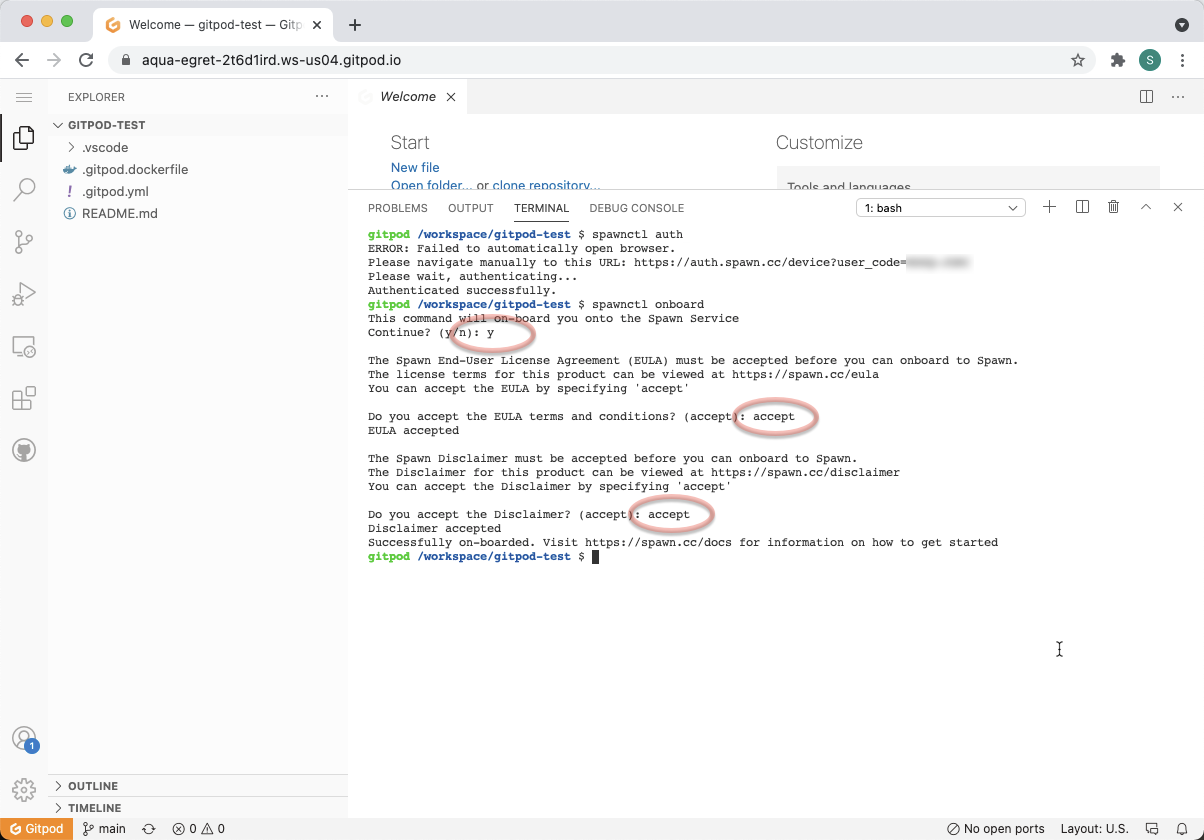
-
Create the access token by using the command
spawnctl create access-token --purpose "tSQLt Class"spawnctl create access-token 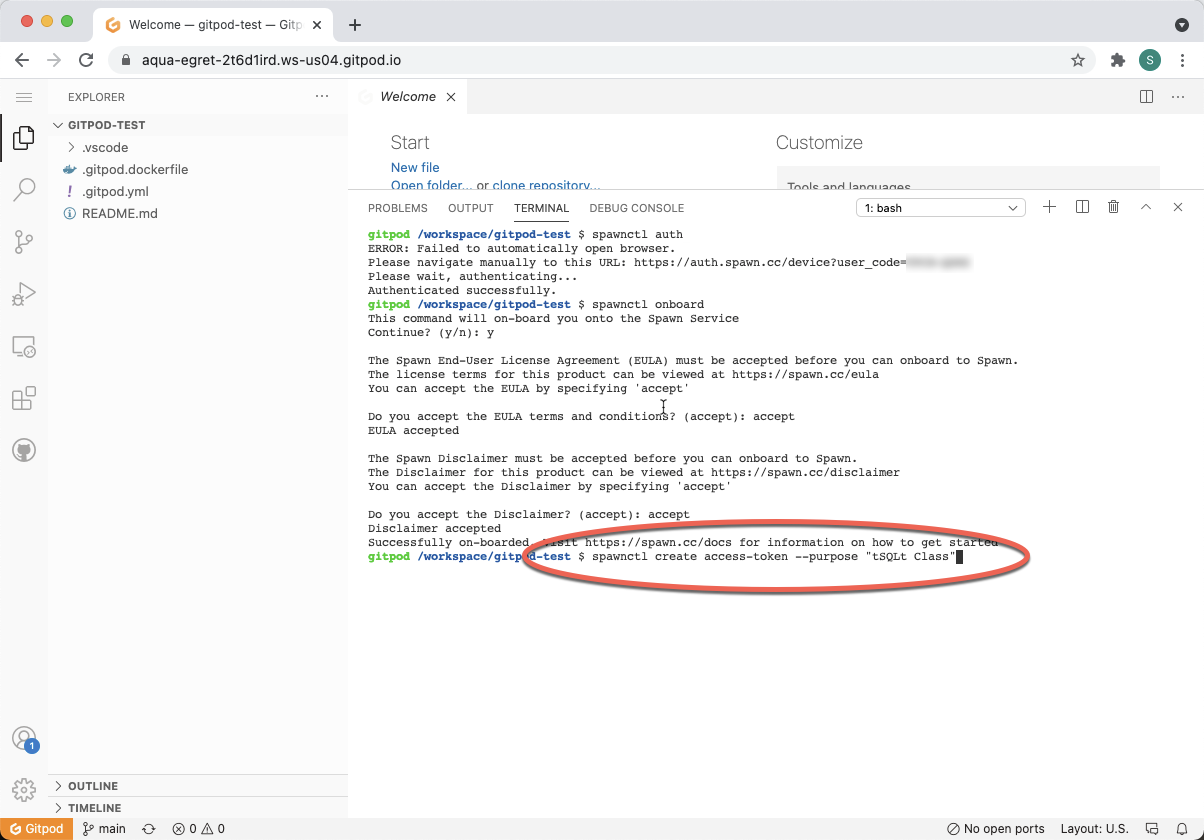
-
Highlight and copy the displayed access token.
copy token 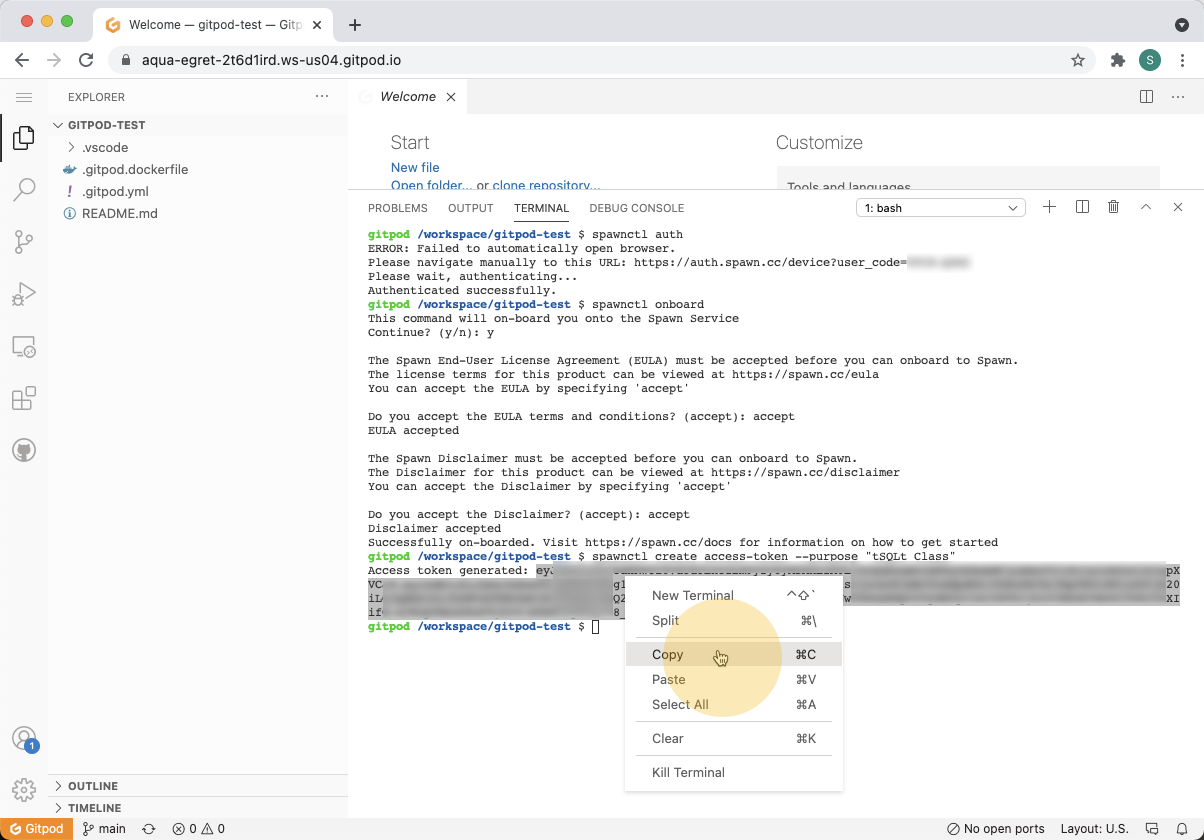
-
Back in your GitHub repository, click on the "Settings" tab.
github repository settings 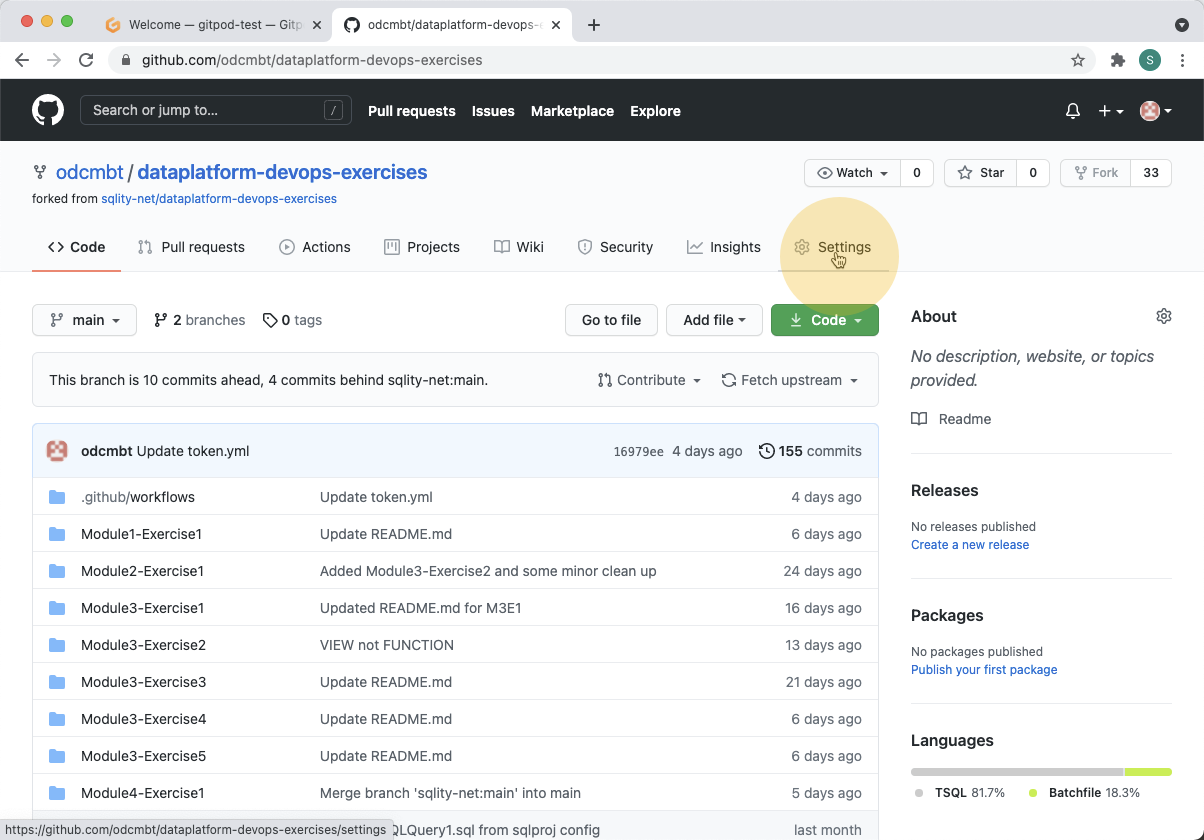
-
On the left-hand navigation near the bottom, click on "Secrets".
github repository secrets 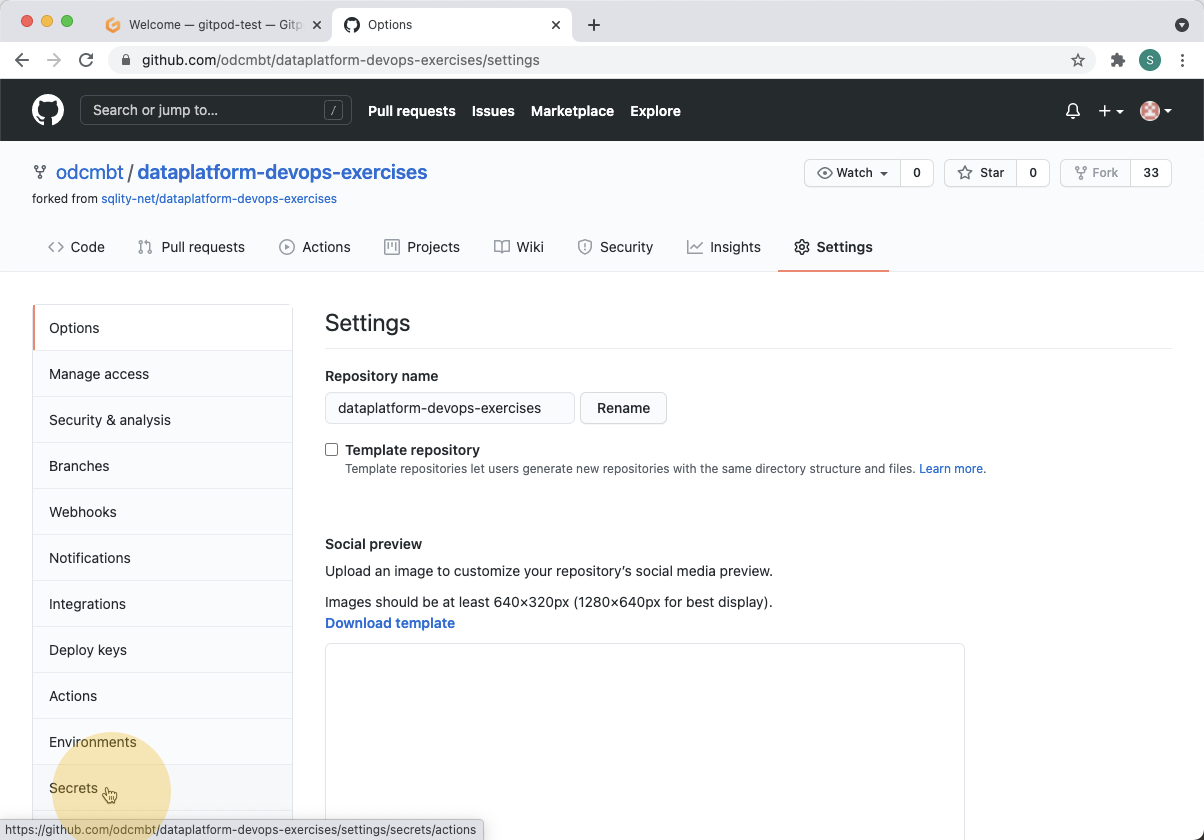
-
Click the "New repository secret" button on the top-right.
new repository secret 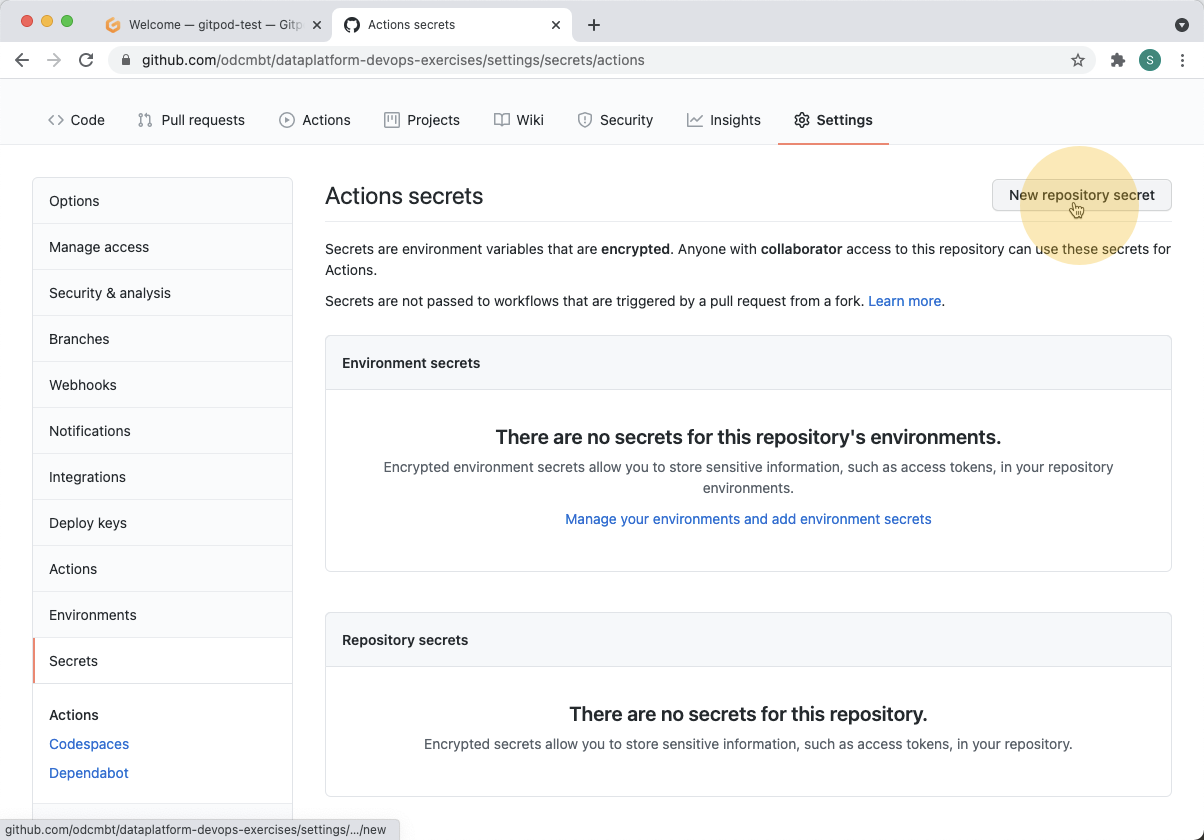
-
Create a new token with the Name, "SPAWNCTL_ACCESS_TOKEN", and paste the access token from Step #15 into the Value field. Click "Add Secret" to confirm.
SPAWNCTL_ACCESS_TOKEN 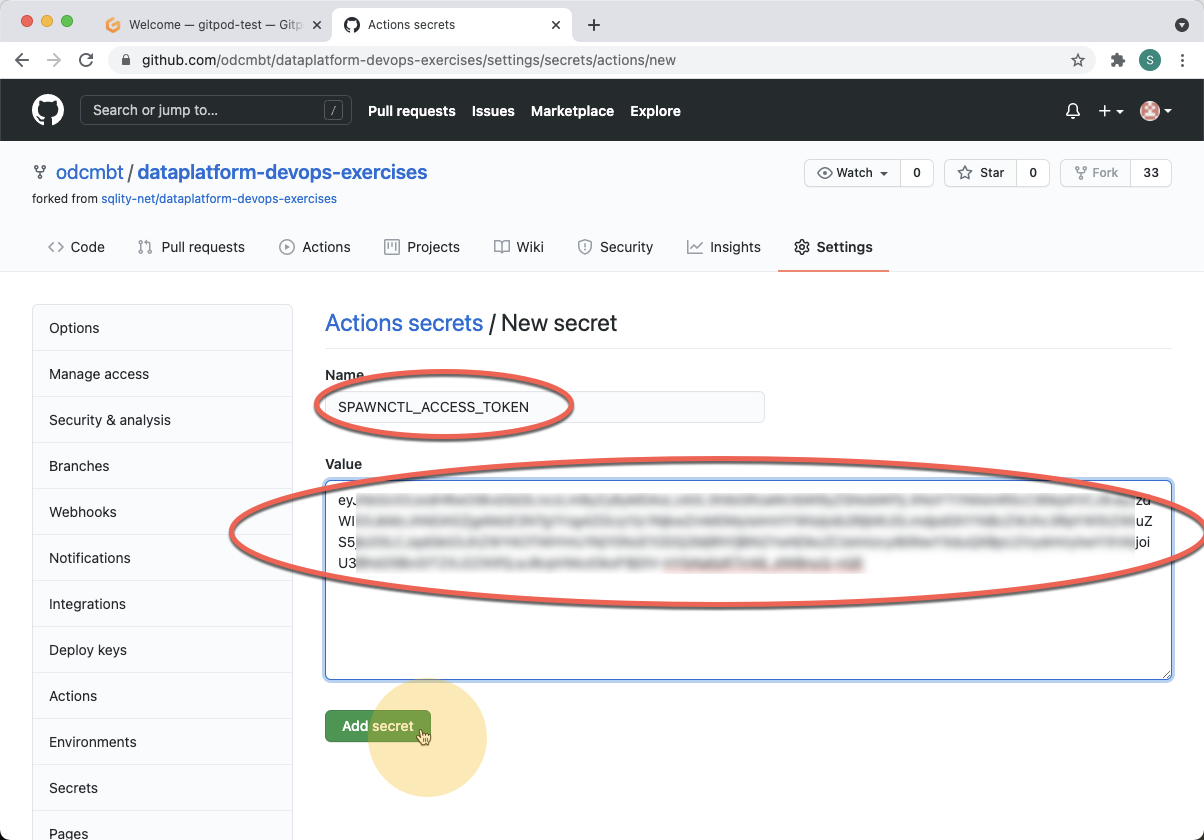
-
You should now see the "SPAWNCTL_ACCESS_TOKEN" displayed in the Repository secrets list.
done 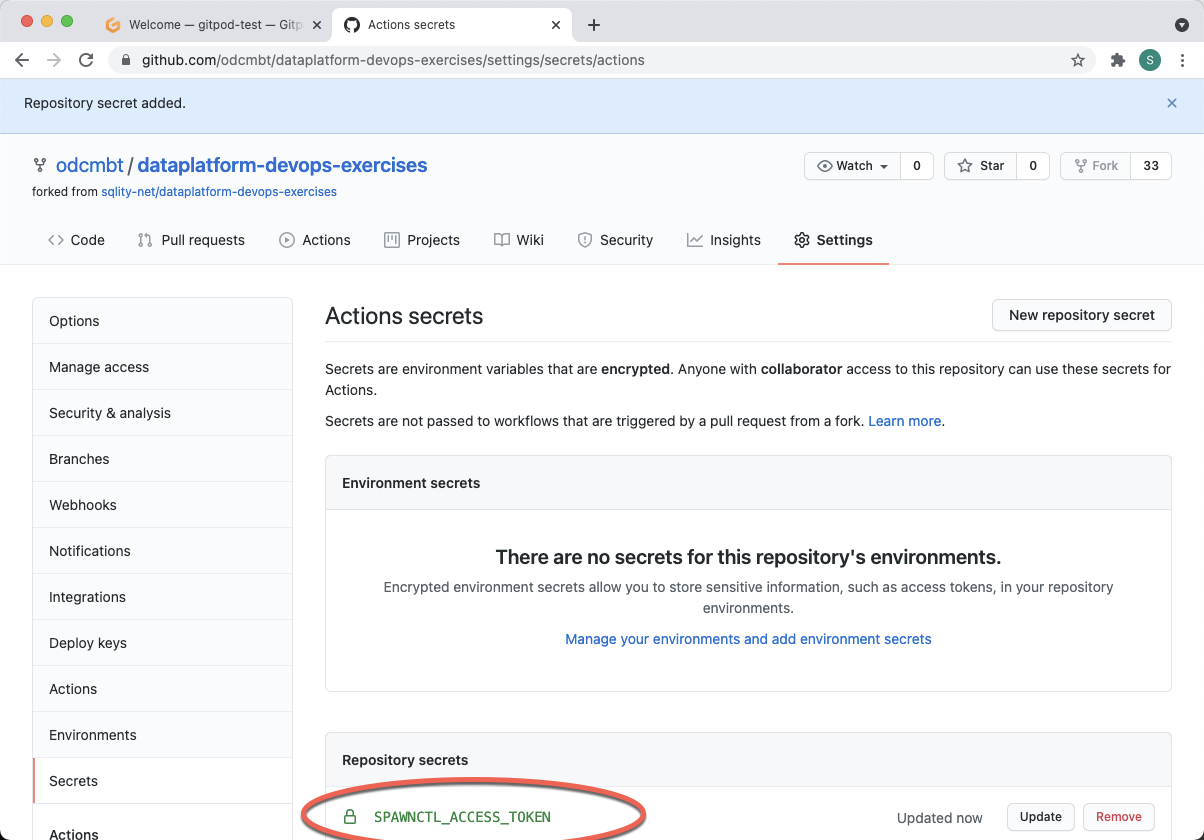
Now that you have successfully created and saved the access token required for Spawn, you should delete the Gitpod development environment.
-
Navigate to
https://gitpod.io/workspacesin a new tab or browser window.gitpod workspaces 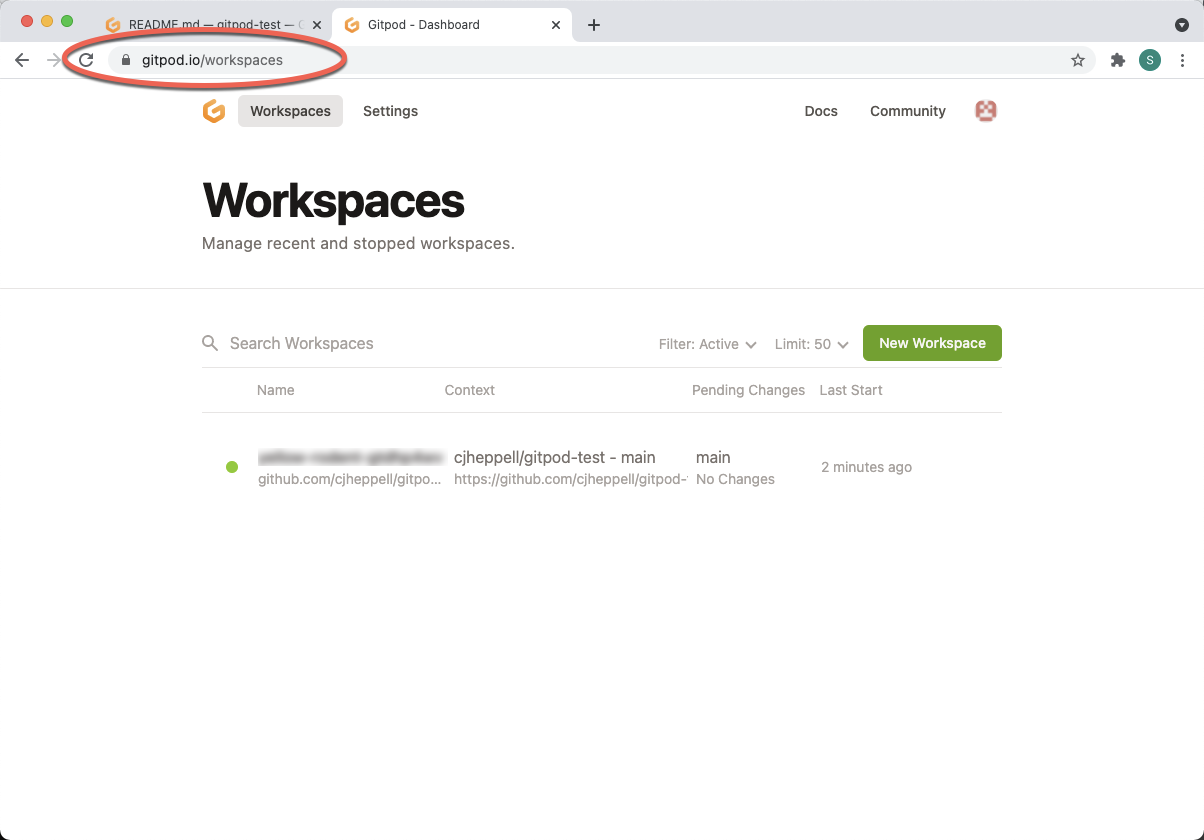
-
Hover over the listed Workspace; click on the three vertical dots; and then select "Delete".
delete 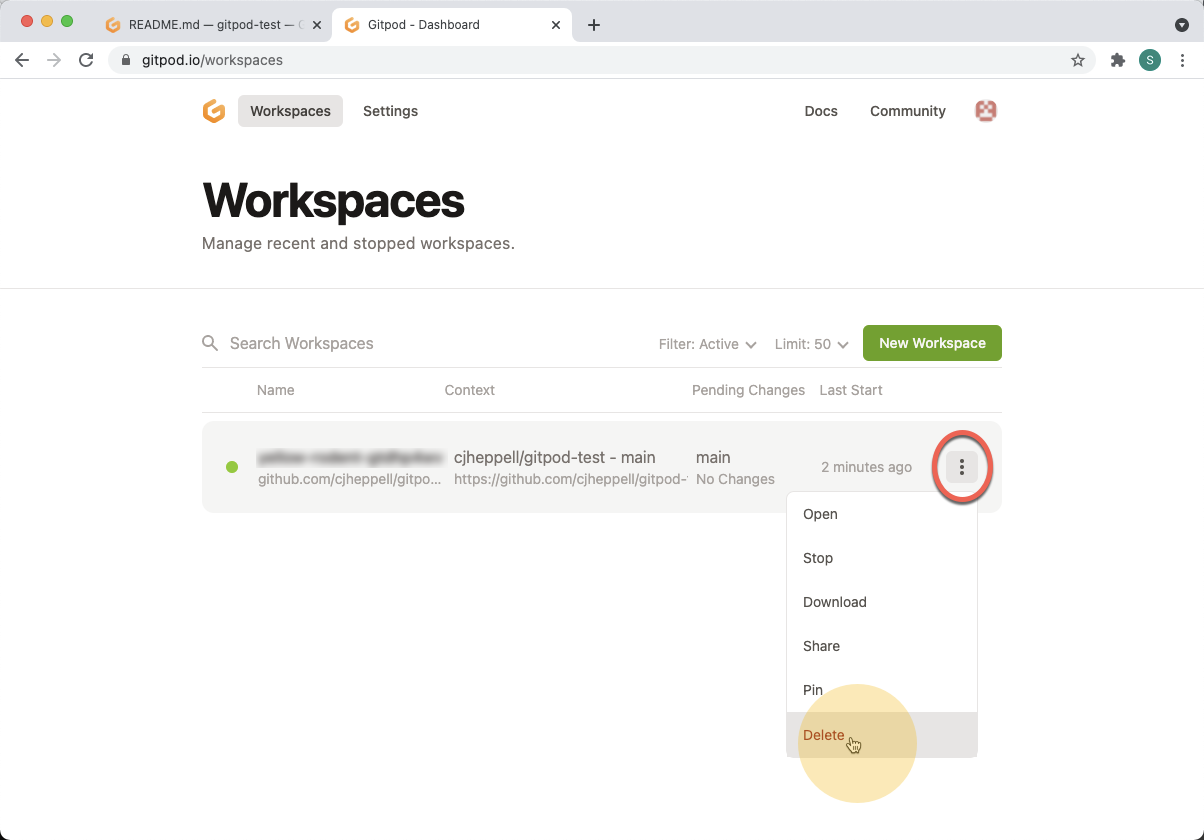
-
Confirm by clicking the red "Delete Workspace" button.
confirm 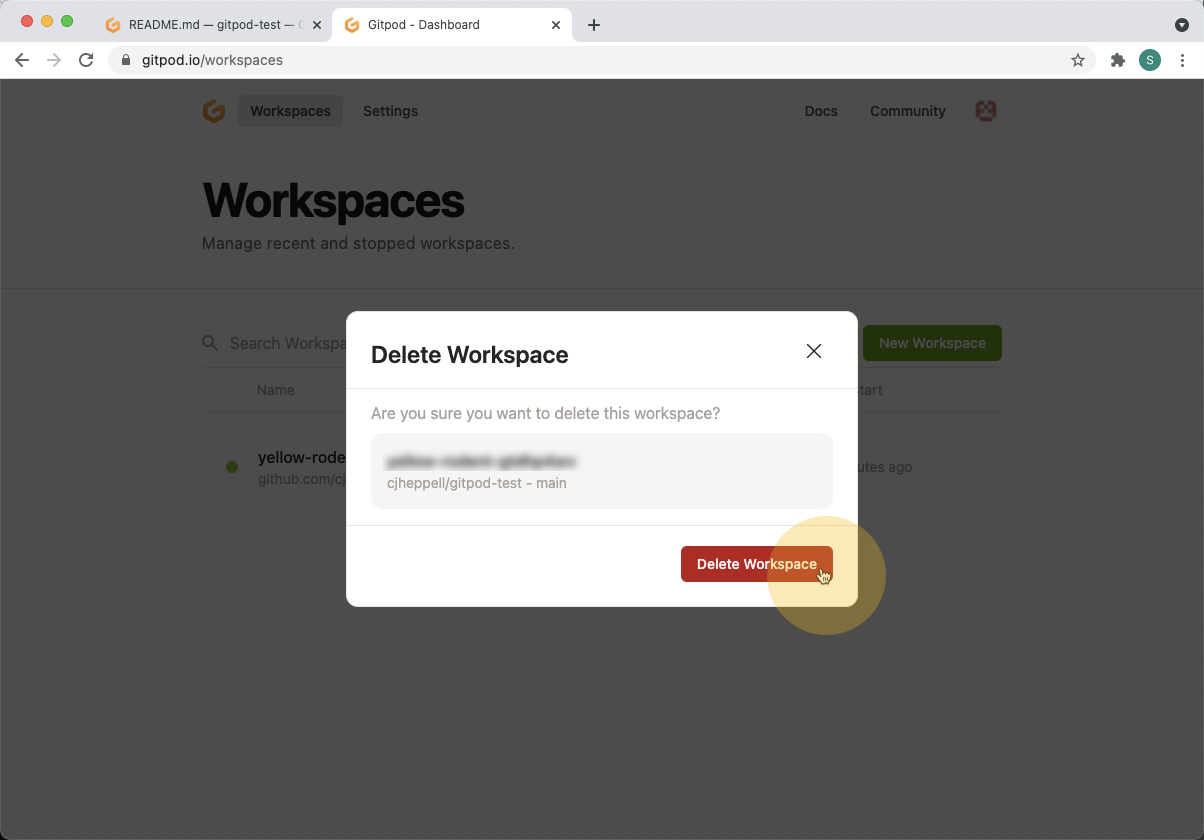
-
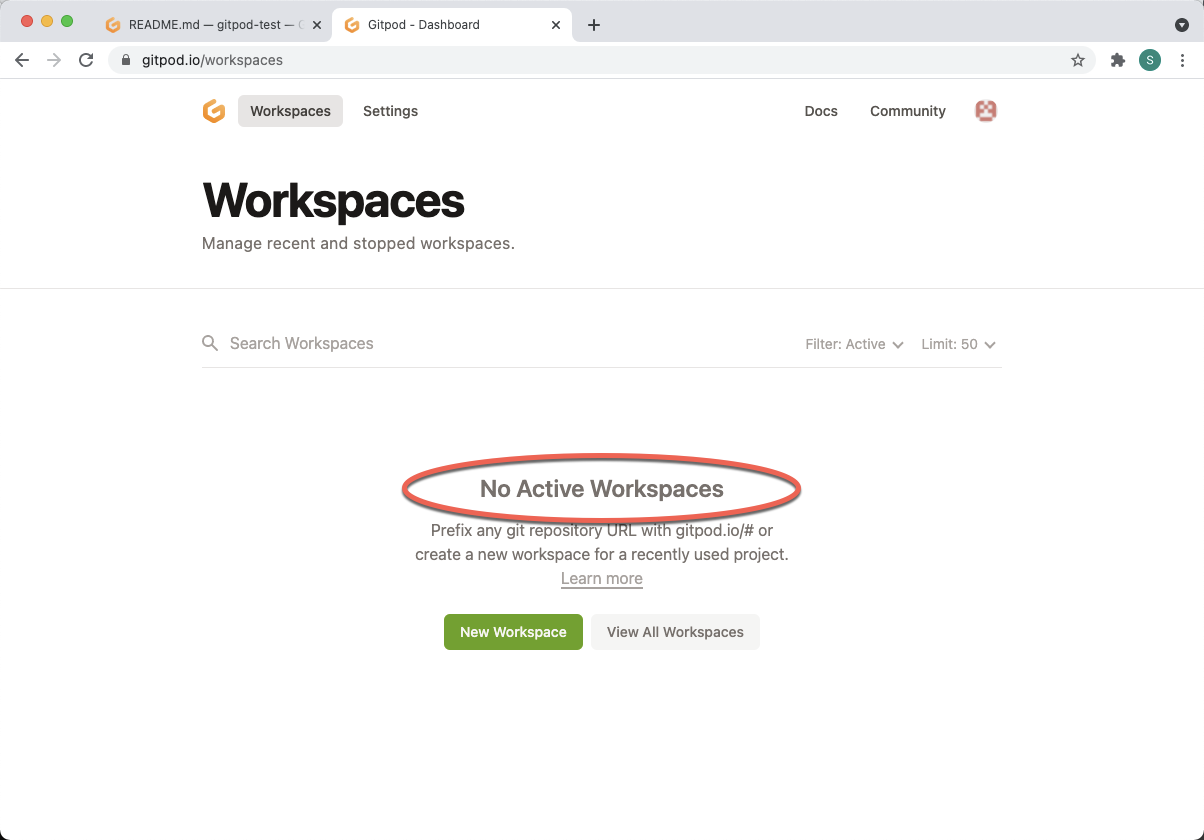
You might have to refresh the page after 10-30 seconds to confirm that the deletion was successful and that you no longer have any active Workspaces.
refresh page